Classic Chevy restoration isn’t just a project—it’s a passion. Whether you dream of cruising in a ’55 Bel Air, a ’69 Camaro, or a Tri-Five Nomad, this guide will walk you through every stage of the process. From teardown and bodywork to engine rebuilds and final detailing, here’s how to bring your Chevrolet back to life.
Why Restore a Classic Chevy?
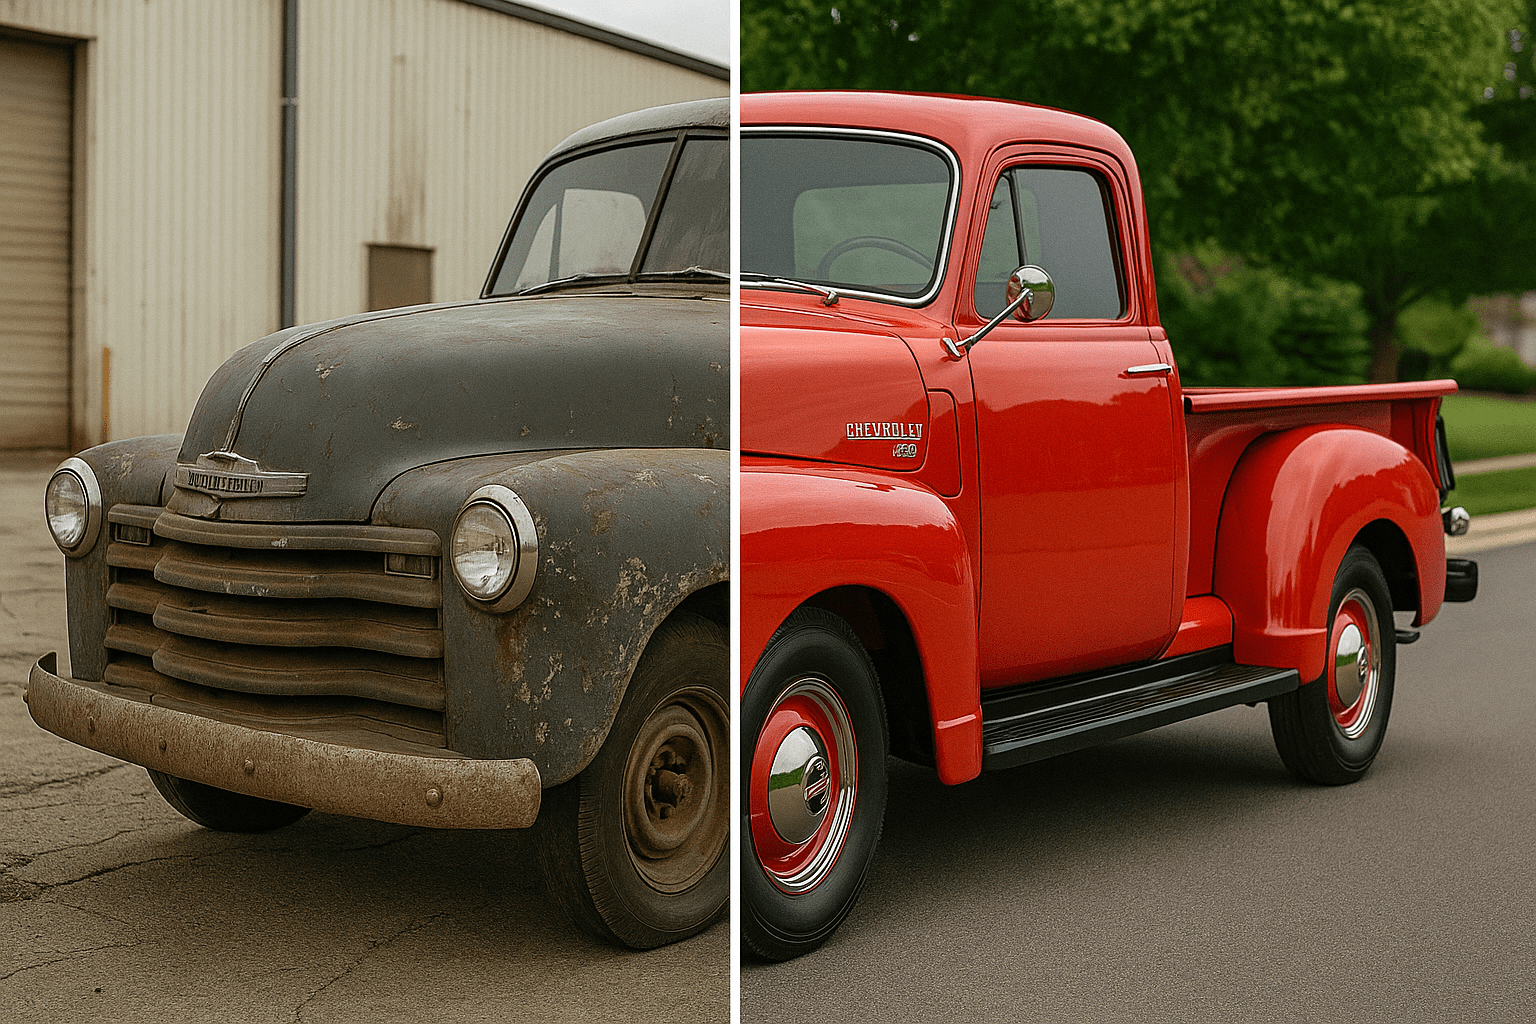
Restoring a vintage Chevrolet is about more than just nuts and bolts—it’s about preserving a piece of American history. Enthusiasts around the world choose Chevys for their timeless style, availability of parts, and unmatched nostalgia.
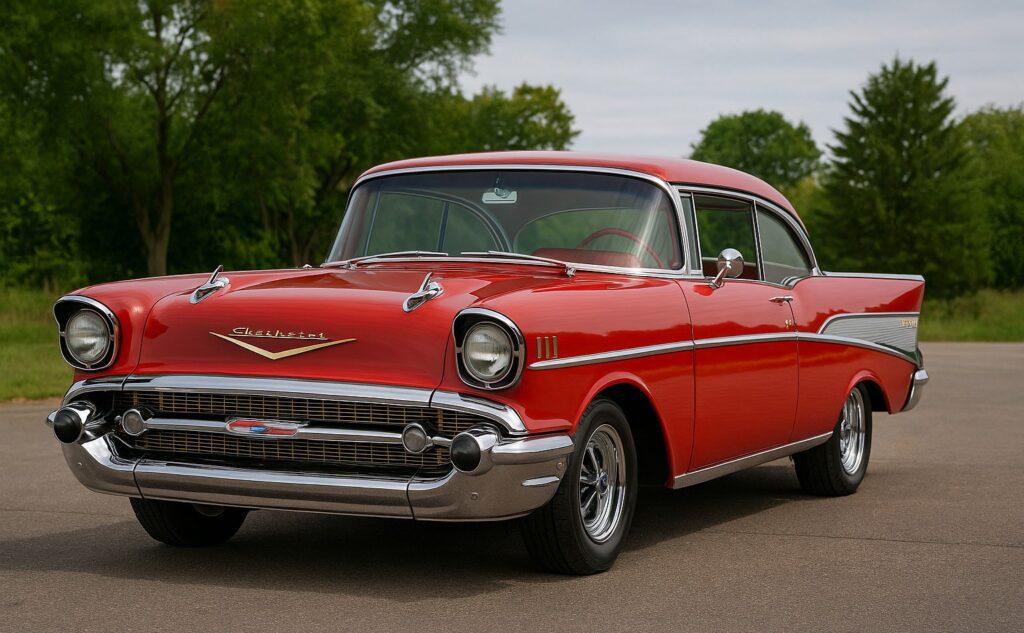
Classic Chevrolets are some of the most iconic American cars ever built. With their chrome trim, powerful V8s, and timeless designs, they remain favorites among collectors and hobbyists. A proper restoration preserves history, boosts value, and gives you the thrill of driving a true piece of automotive art.
1. Choosing the Right Project Car
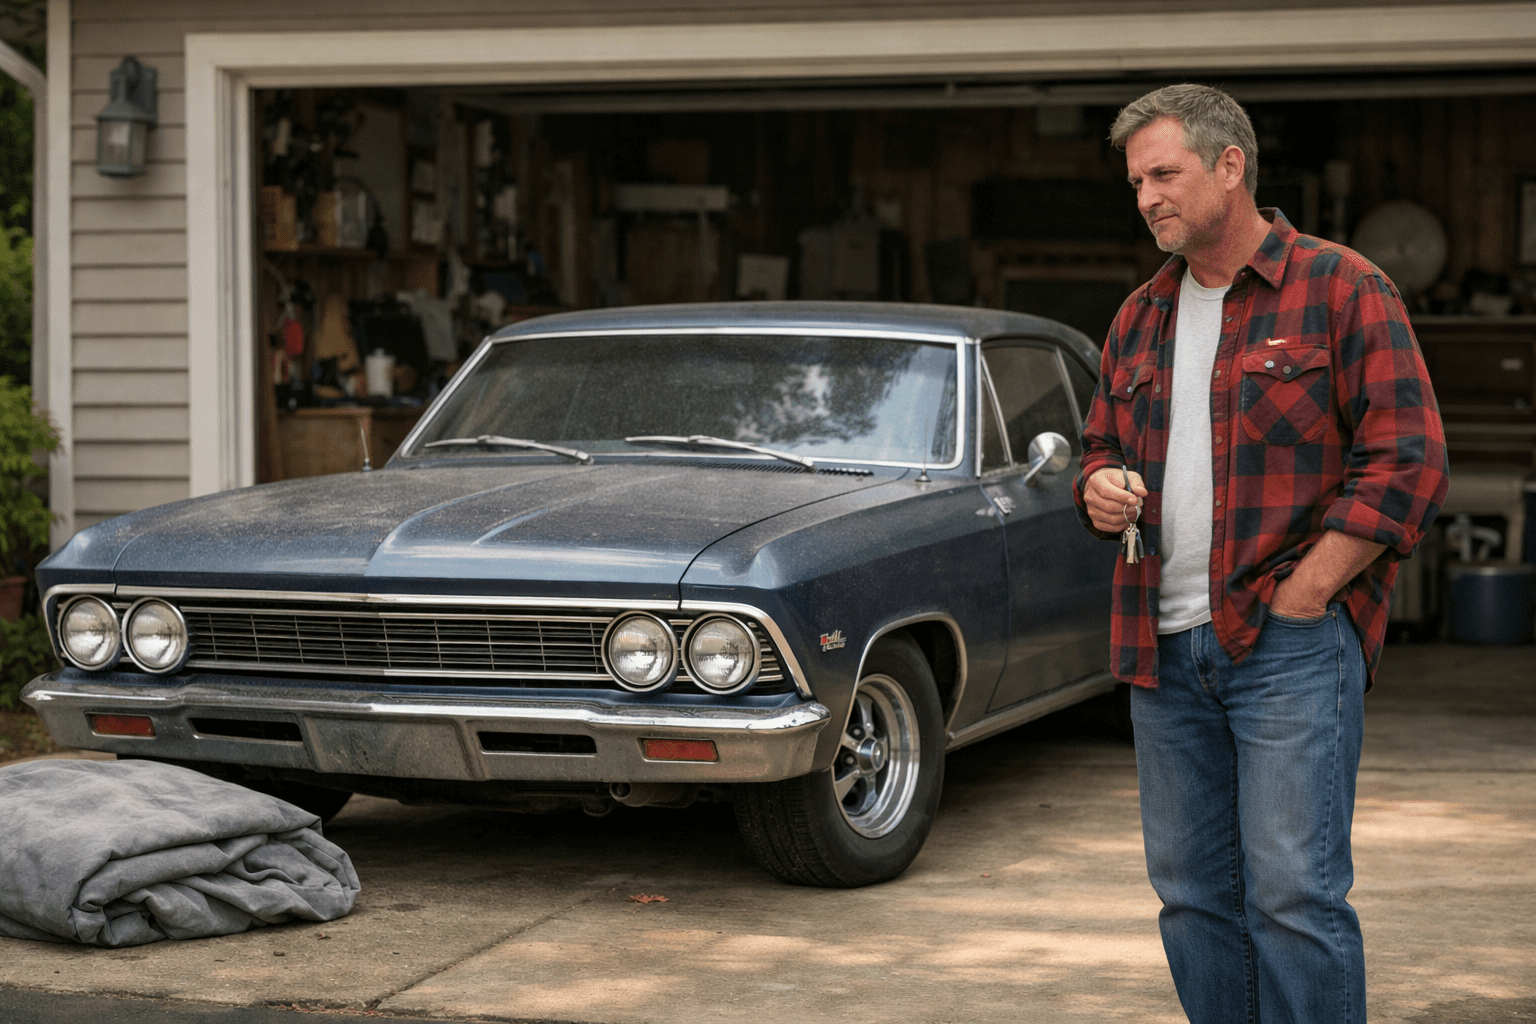
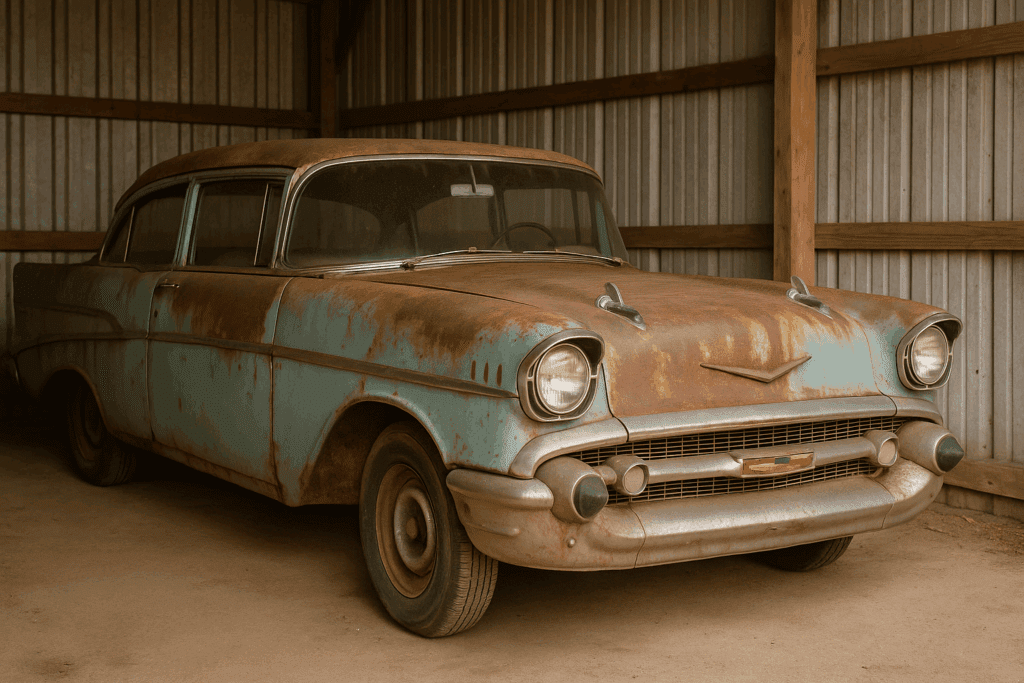
Before beginning a restoration, the most important step is picking the right candidate. Not all Chevys are equal when it comes to cost, difficulty, or long-term value. Taking time upfront saves headaches later.
If you’re unsure which era of Chevrolet is right for you, see our Tri-Five Chevy Guide: 1955–1957 Models Explained for insight into some of the most sought-after models.
The first decision can make or break your restoration. Before buying:
- Check for rust: Surface rust is manageable, but deep frame or floor rust requires major repairs.
- Inspect the frame and chassis: Make sure the car is straight and free from serious damage.
- Evaluate parts availability: Some years and trims are easier to source than others.
- Set your restoration goal: Are you building a show car, a driver, or a restomod?
👉 Tip: A solid body with missing trim is usually easier than a rust bucket with all the chrome intact.
You can browse availability of panels and trim through suppliers like Classic Industries.
2. Planning & Budgeting Your Classic Chevy Restoration
Once you have a car, the next step is creating a roadmap for success. Planning is where many restorations fail—without a clear budget and parts strategy, projects stall.
Not sure how to factor in car values? Our Classic Chevy Buyer’s Guide walks you through what to look for when buying and how to avoid costly mistakes.
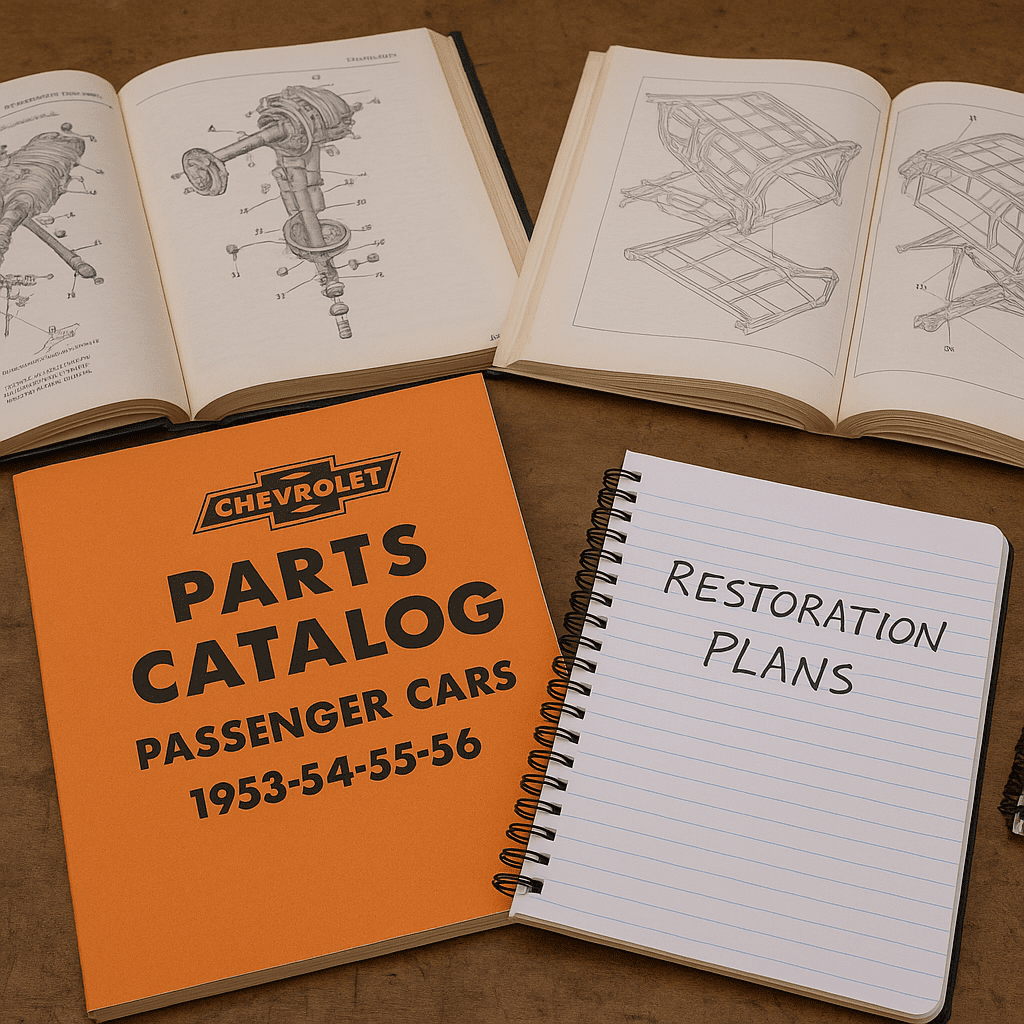
Restoration projects can stretch over months—or even years. Save yourself stress with a clear plan:
- Document everything: Take photos and notes before teardown.
- Budget realistically: Expect hidden costs; add 20–30% for surprises.
- Gather manuals & diagrams: Factory assembly manuals are worth their weight in gold.
- Parts sourcing: Start locating hard-to-find trim and body panels early.
Many experts recommend joining communities like ChevyTalk.org to find sourcing tips and trusted vendors.
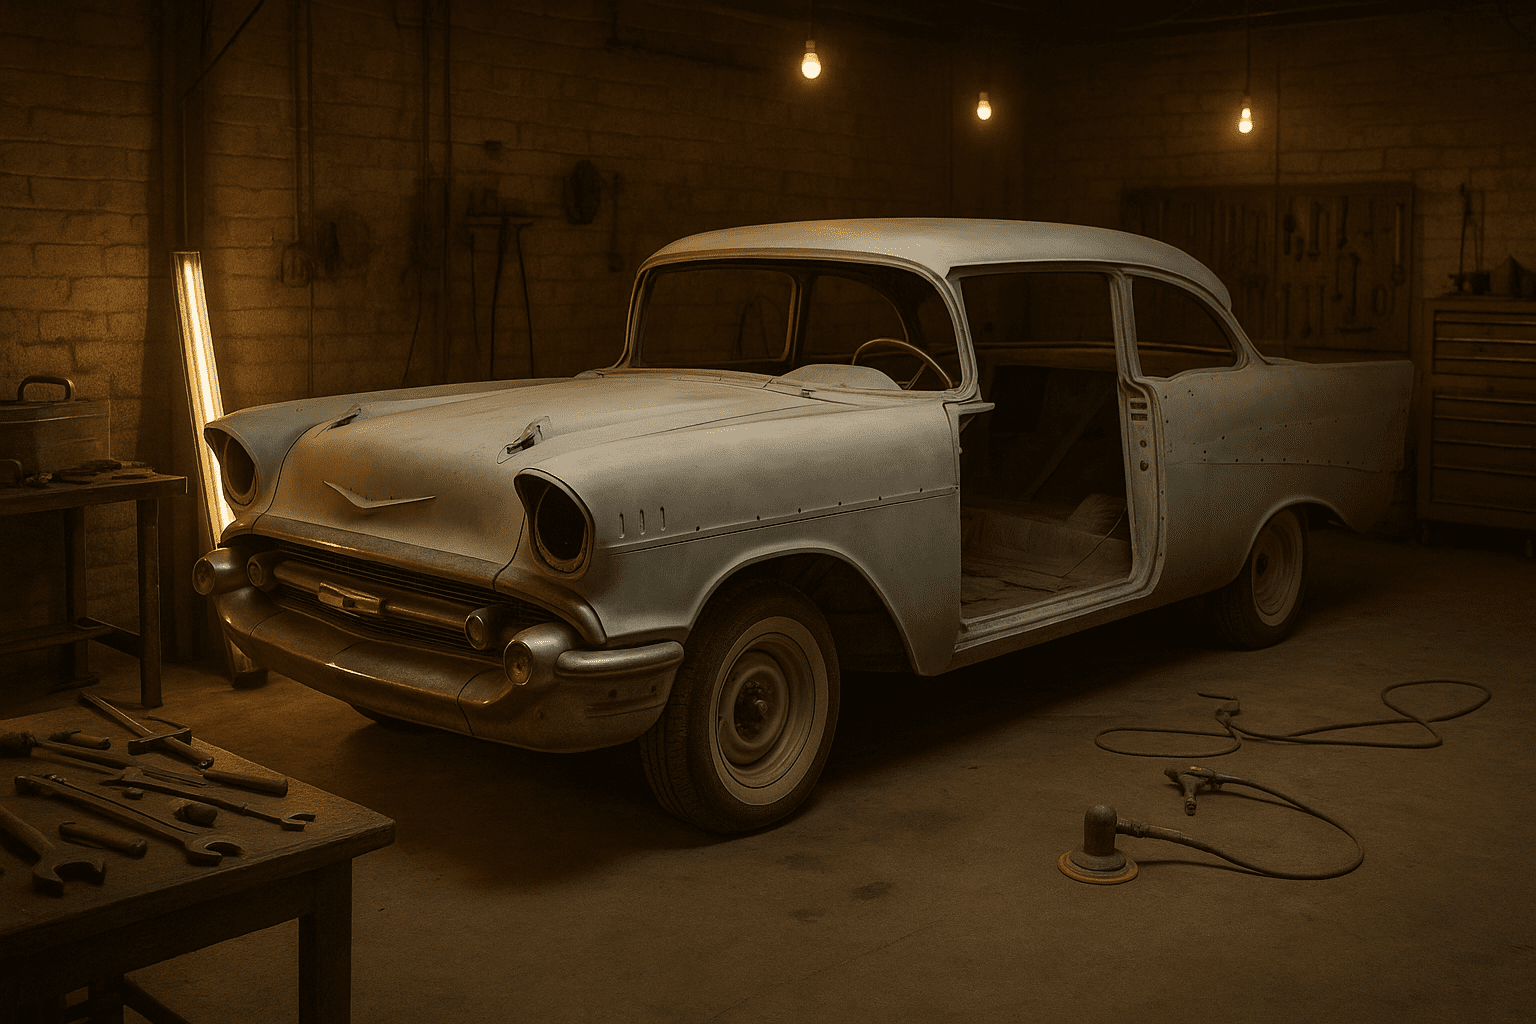
3. Teardown & Cataloging
The teardown process sets the tone for your entire restoration. If it’s rushed or sloppy, you’ll pay for it later during reassembly. Careful cataloging is your insurance policy.
If you’ve never done a full teardown before, you may also find our Classic Chevy Restoration Checklist (available on OldChevys.com) useful for staying organized.

Disassembly is the foundation of a successful build:
- Use labeled bags and bins for bolts and small parts.
- Photograph wiring, routing, and brackets.
- Store trim, glass, and interior parts safely to avoid damage.
- Create an inventory of what can be reused, rebuilt, or replaced.
4. Frame & Suspension: Building a Solid Foundation
Every restored Chevy needs a dependable backbone. The frame and suspension determine not just safety, but how the car feels on the road. Neglecting this step undermines the entire project.
For models like the Bel Air, 210, or 150, our Tri-Five Chevy Guide includes suspension details and common problem areas to watch for.
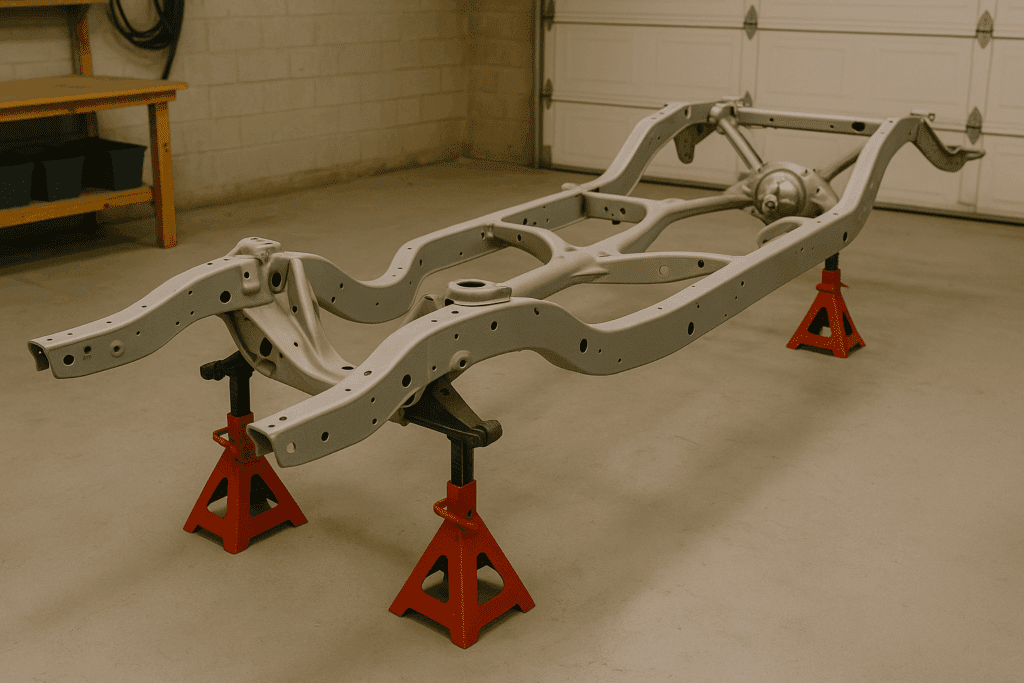
A restored Chevy needs a reliable backbone:
- Sandblast and coat the frame to prevent future corrosion.
- Rebuild suspension with new bushings, shocks, and ball joints.
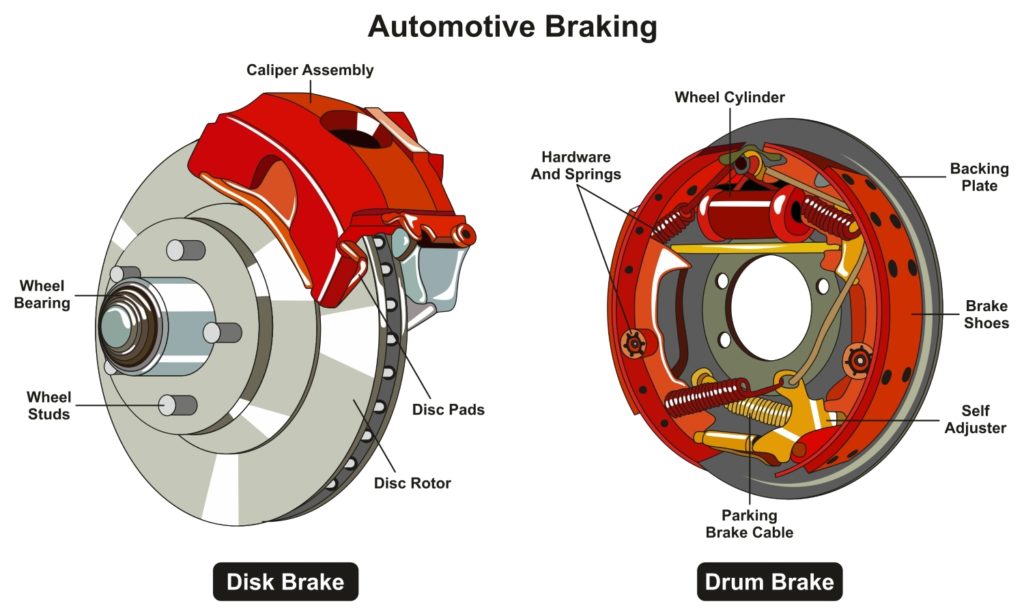
- Upgrade to disc brakes and sway bars for safety and handling.
- Inspect steering components—sloppy steering ruins the driving experience.
For practical tips, see Summit Racing’s suspension articles covering performance upgrades and chassis rebuilds.
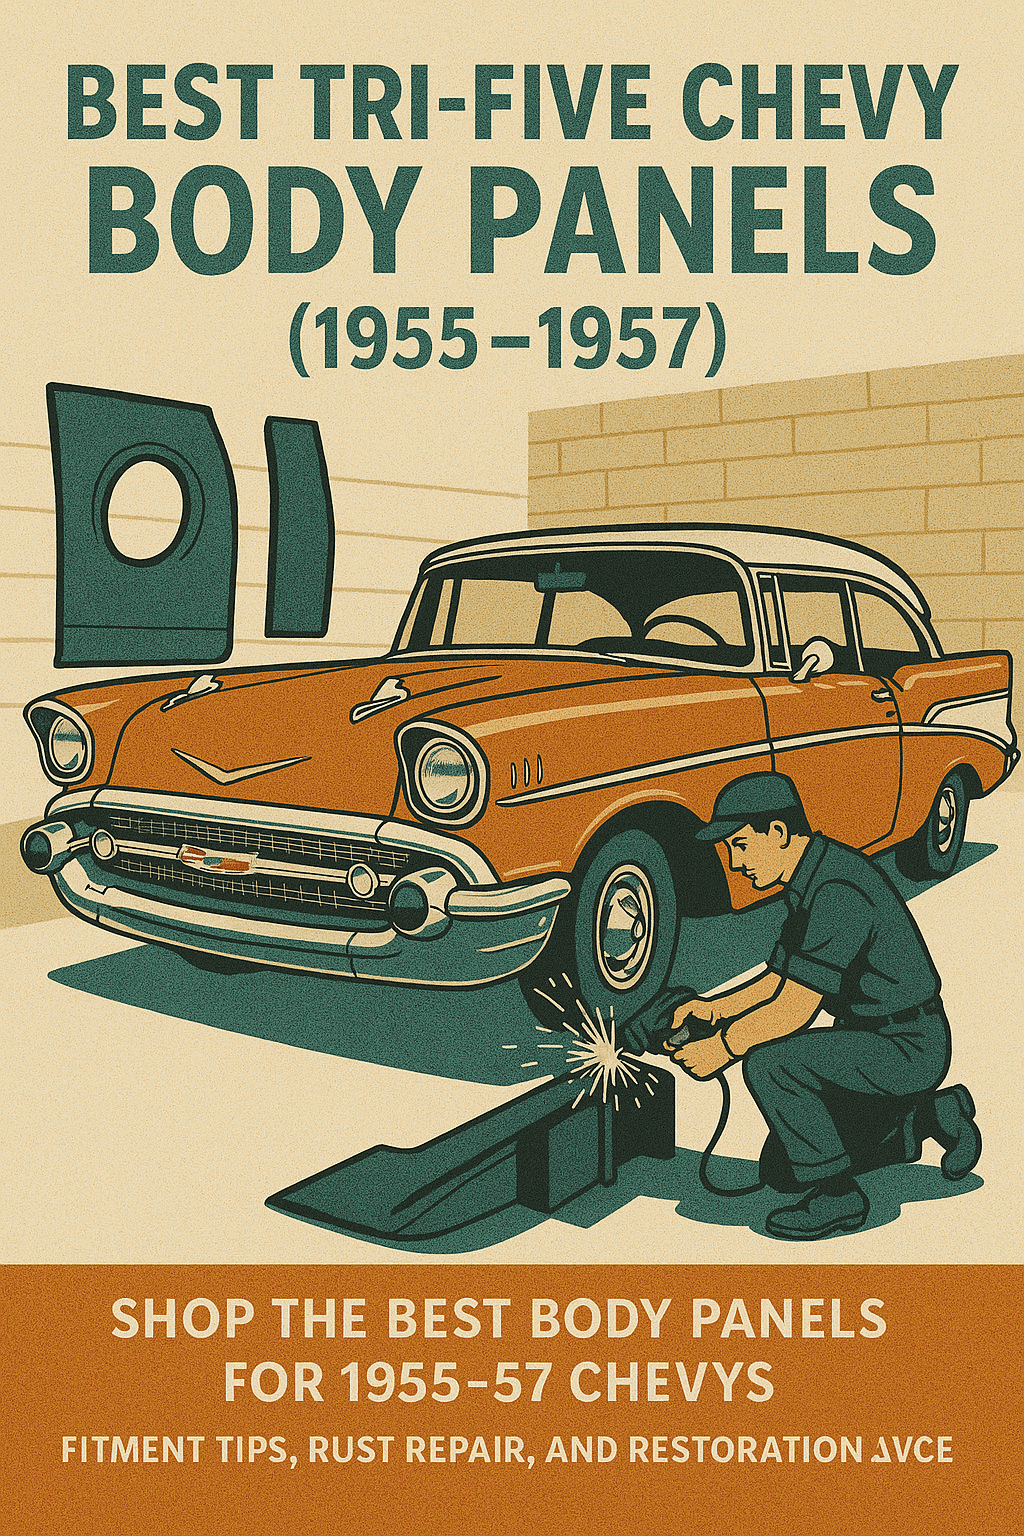
5. Bodywork & Rust Repair
Bodywork is where restorers spend most of their time and patience. From rust repair to panel alignment, this step determines whether your Chevy looks factory fresh or patchy.
If you’re evaluating a potential project car, revisit our Classic Chevy Buyer’s Guide—it explains how to spot hidden rust and poor repairs before you invest.
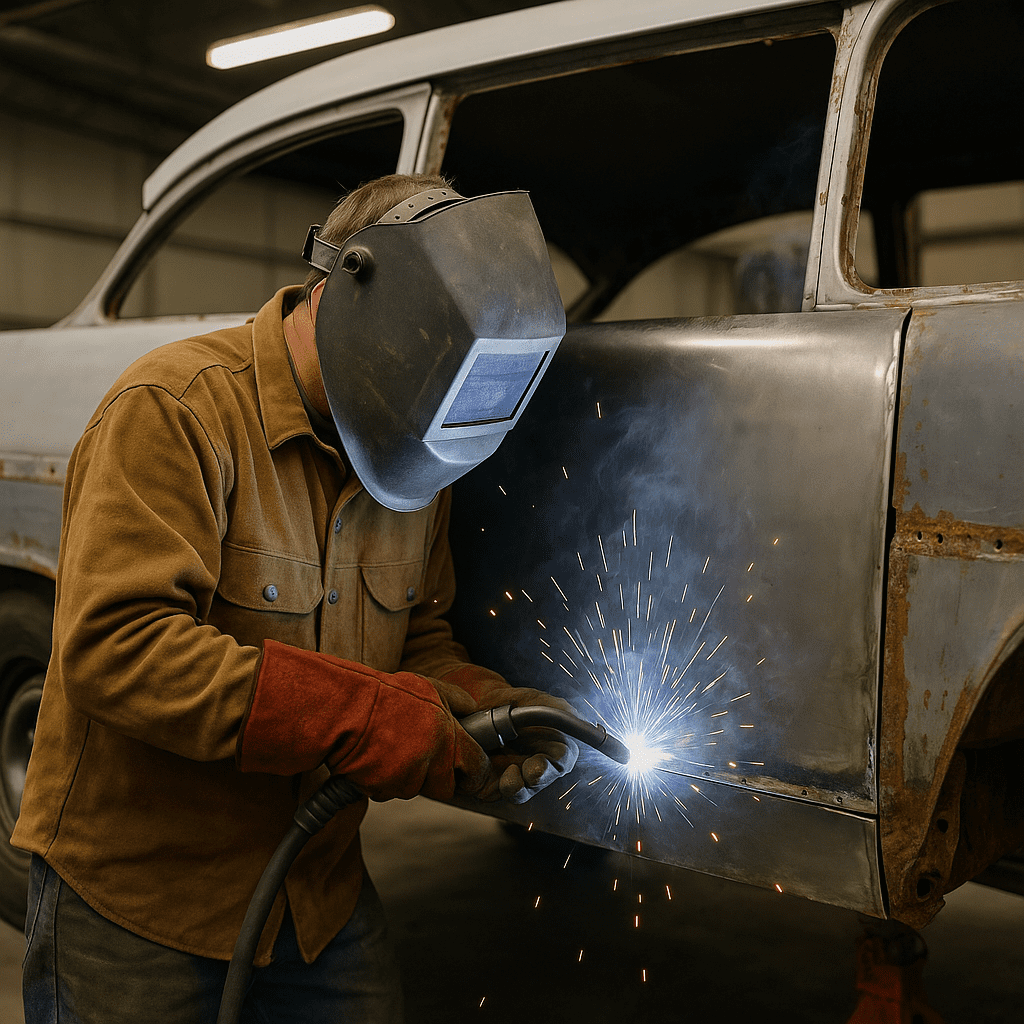
This is often the most time-consuming step:
- Cut out rusted metal and weld in new panels.
- Test fit doors, hood, and trunk before final bodywork.
- Use epoxy primer to protect bare metal.
- Block sand until panels are straight and gaps are even.
6. Painting Your Chevy: Color & Finish
Paint is the reward for all the hard work. This step transforms a tired old shell into a showroom-worthy classic that stops people in their tracks.
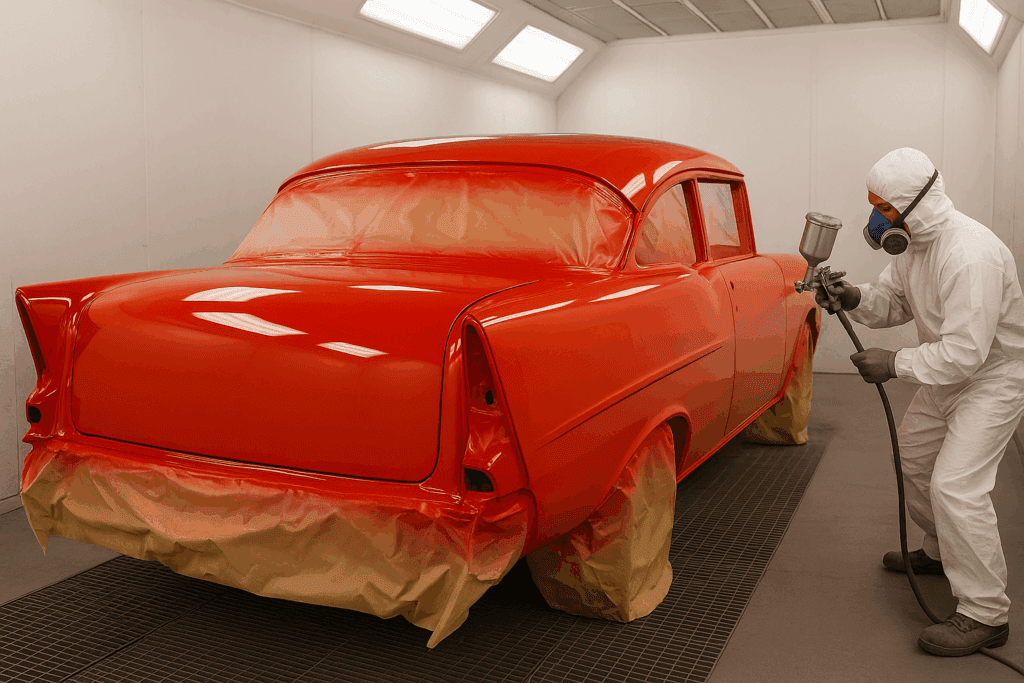
Paint brings the “wow” factor:
- Choose a factory-correct color for authenticity, or go custom for flair.
- Use a basecoat/clearcoat system for depth and durability.
- Wet sand and polish to achieve a mirror finish.
- Re-chrome or polish trim pieces to complete the look.
For color inspiration and finish systems, check PPG Automotive Finishes—an industry leader in classic car paints.
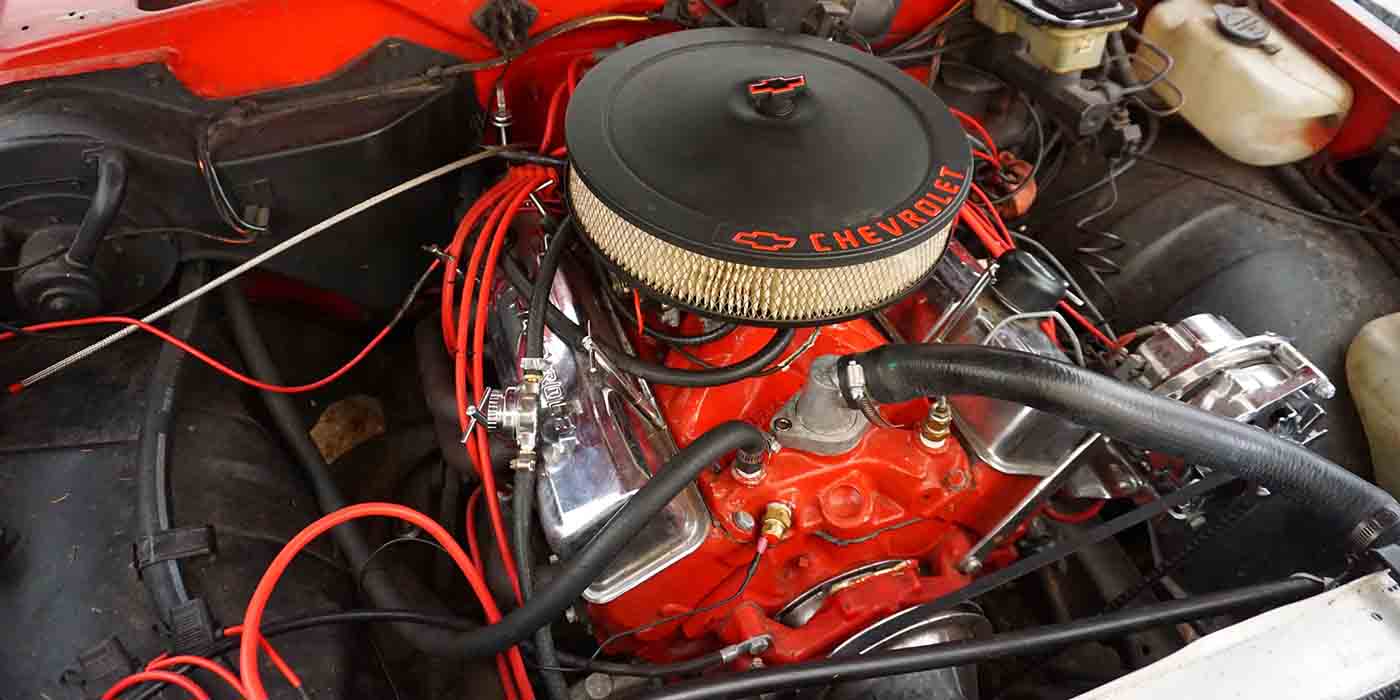
7. Engine & Drivetrain Rebuild
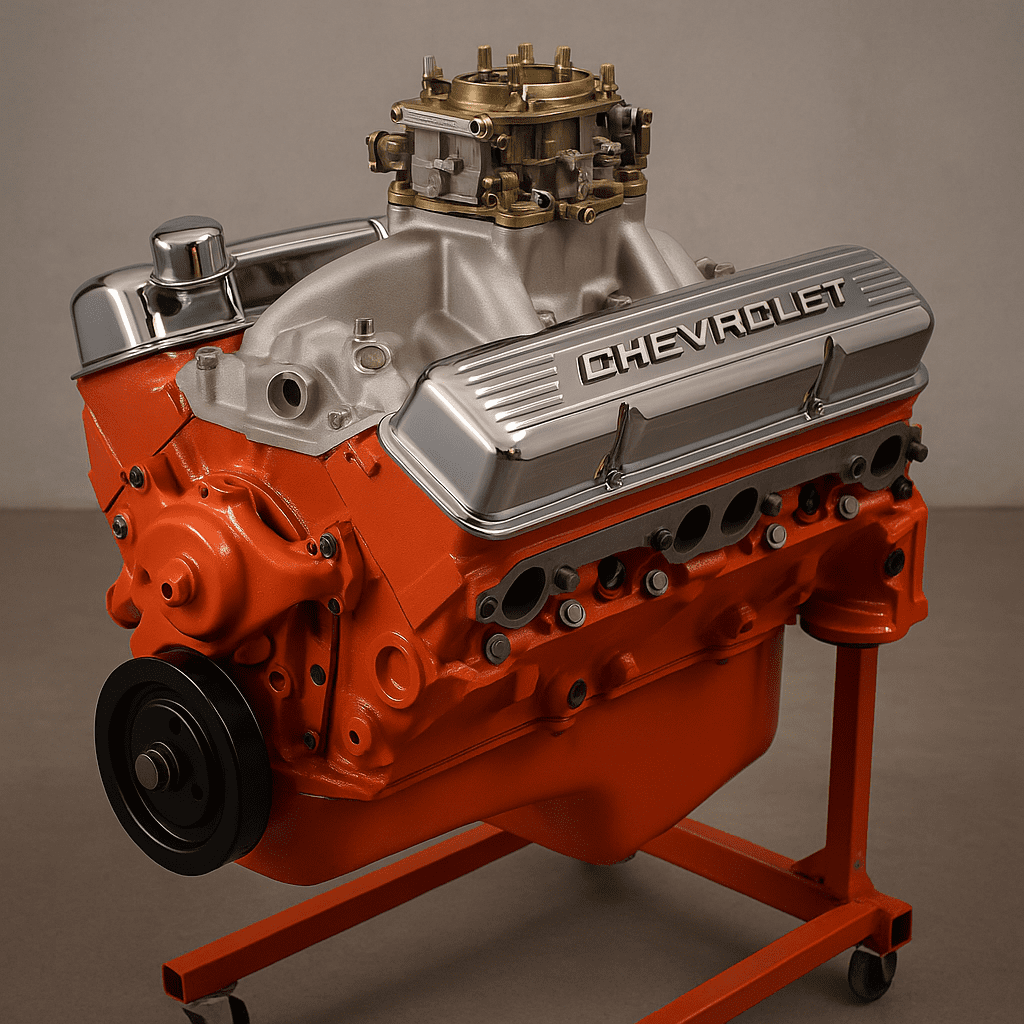
The engine and drivetrain bring your Chevy back to life. Whether you’re chasing originality or extra horsepower, this step is where reliability meets performance.
If you’re restoring a Tri-Five or small-block-powered Chevy, our Tri-Five Chevy Guide includes powertrain notes to consider before you start.
The heartbeat of your Chevy:
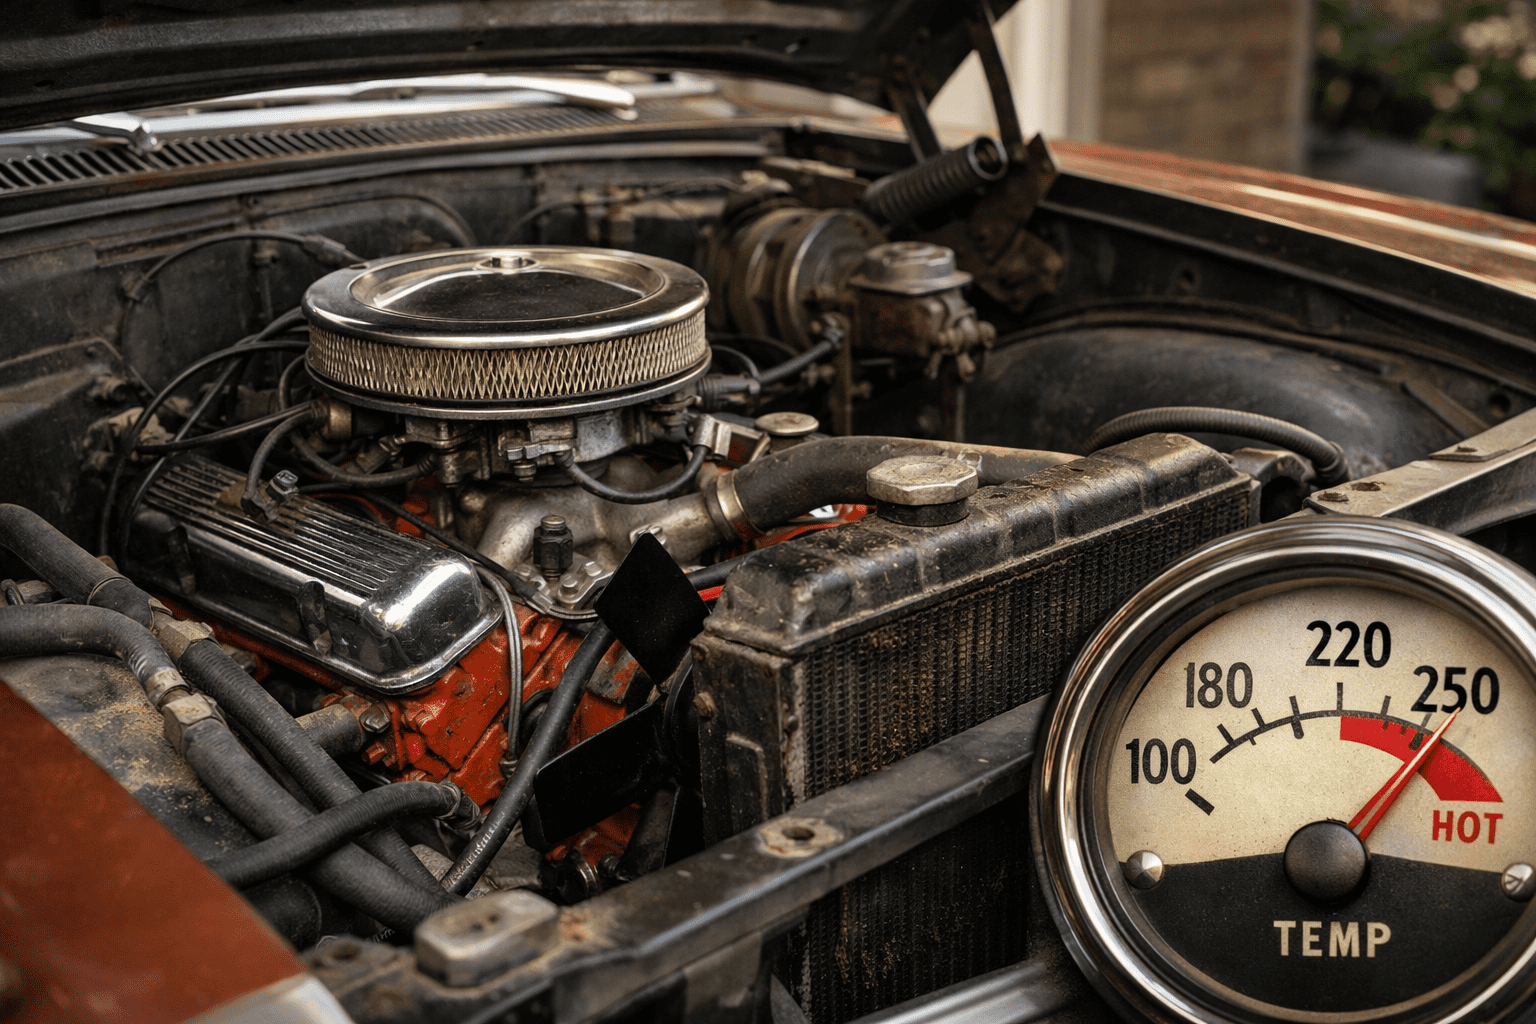
- Rebuild the original engine, or consider a crate motor for reliability.
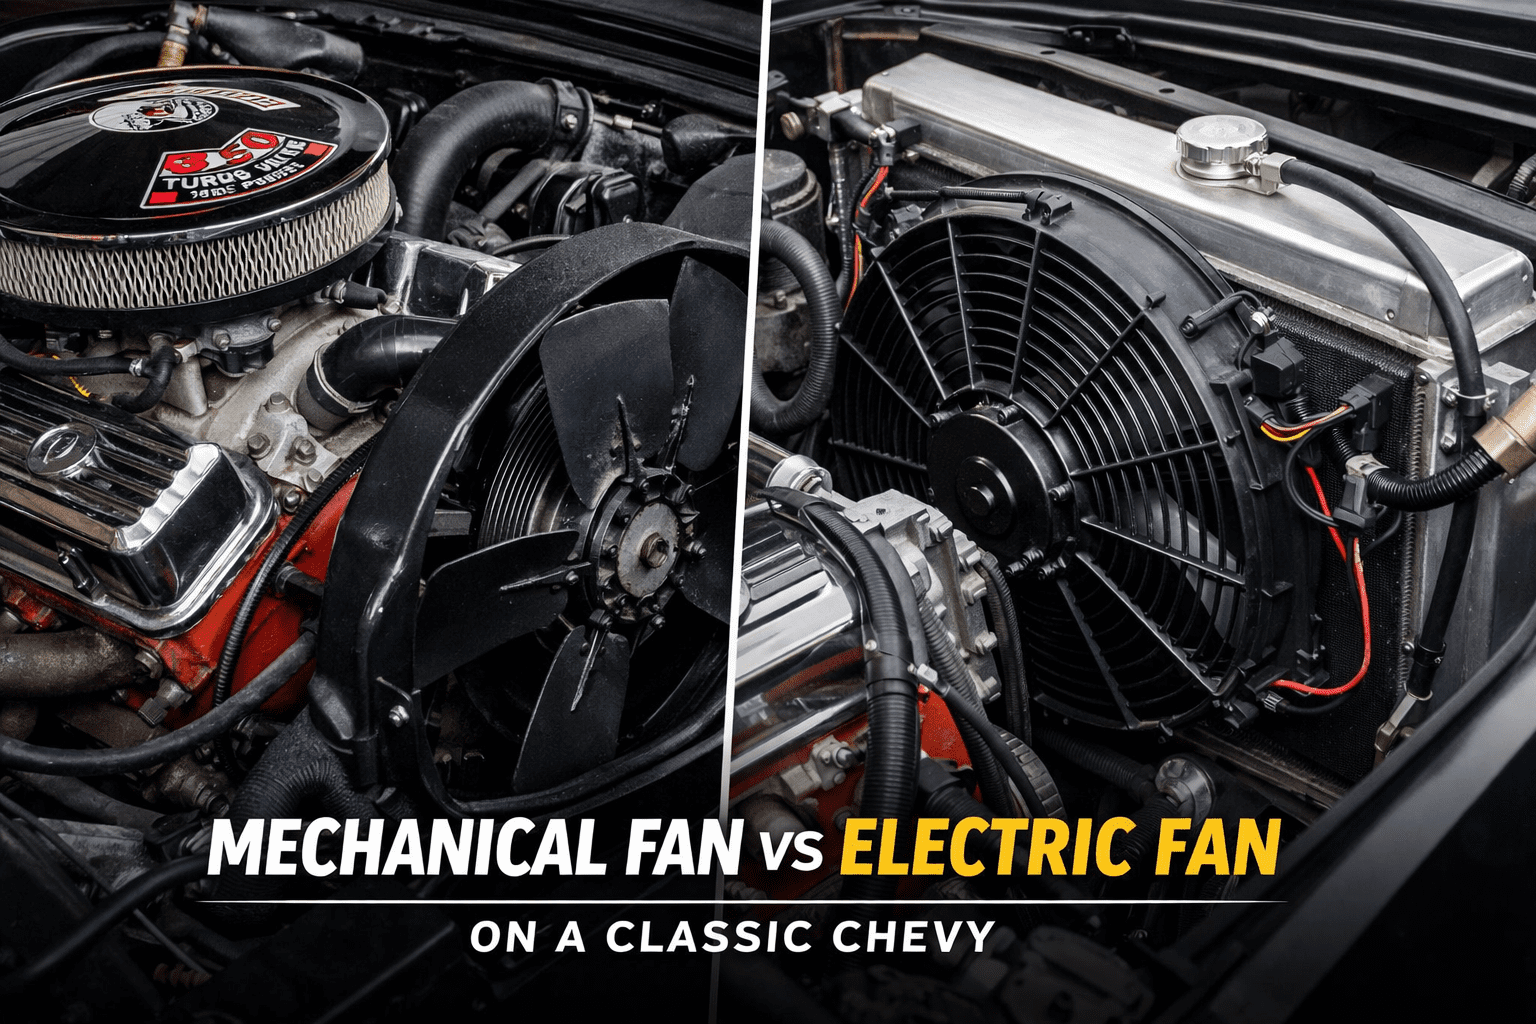
- Upgrade ignition, cooling, and fuel delivery for better performance.
- Rebuild or replace the transmission and rear differential.
- Use high-quality gaskets, seals, and bearings to avoid future leaks.
8. Wiring & Electrical Systems
Classic cars often suffer from decades of spliced wires, brittle insulation, and weak grounds. A clean electrical system ensures reliability and safety.
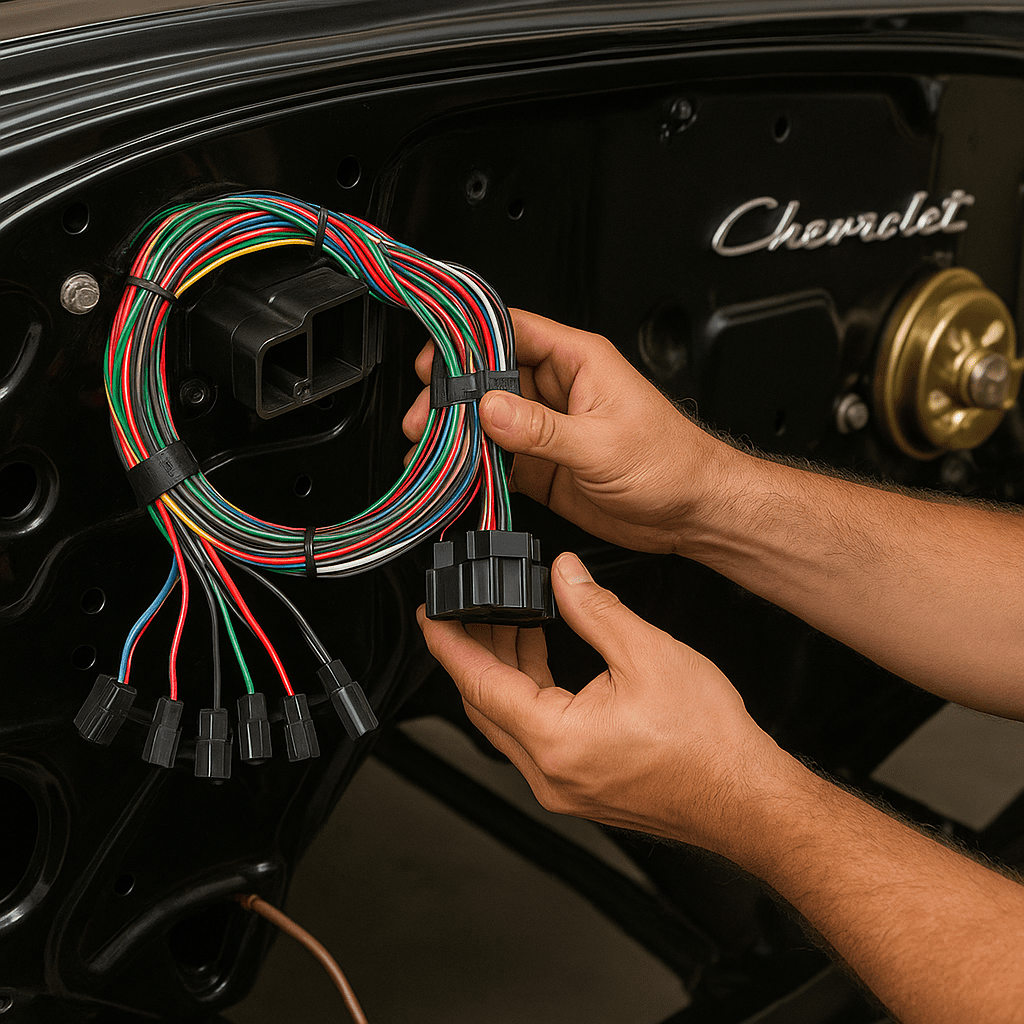
Electrical gremlins are common in classic cars—don’t cut corners:
- Install a new wiring harness if the old one is brittle or hacked.
- Ensure proper grounds and fuses for reliability.
- Add modern upgrades carefully (LED lighting, hidden stereo systems).
- Test each circuit before reinstalling the interior.
9. Interior Restoration

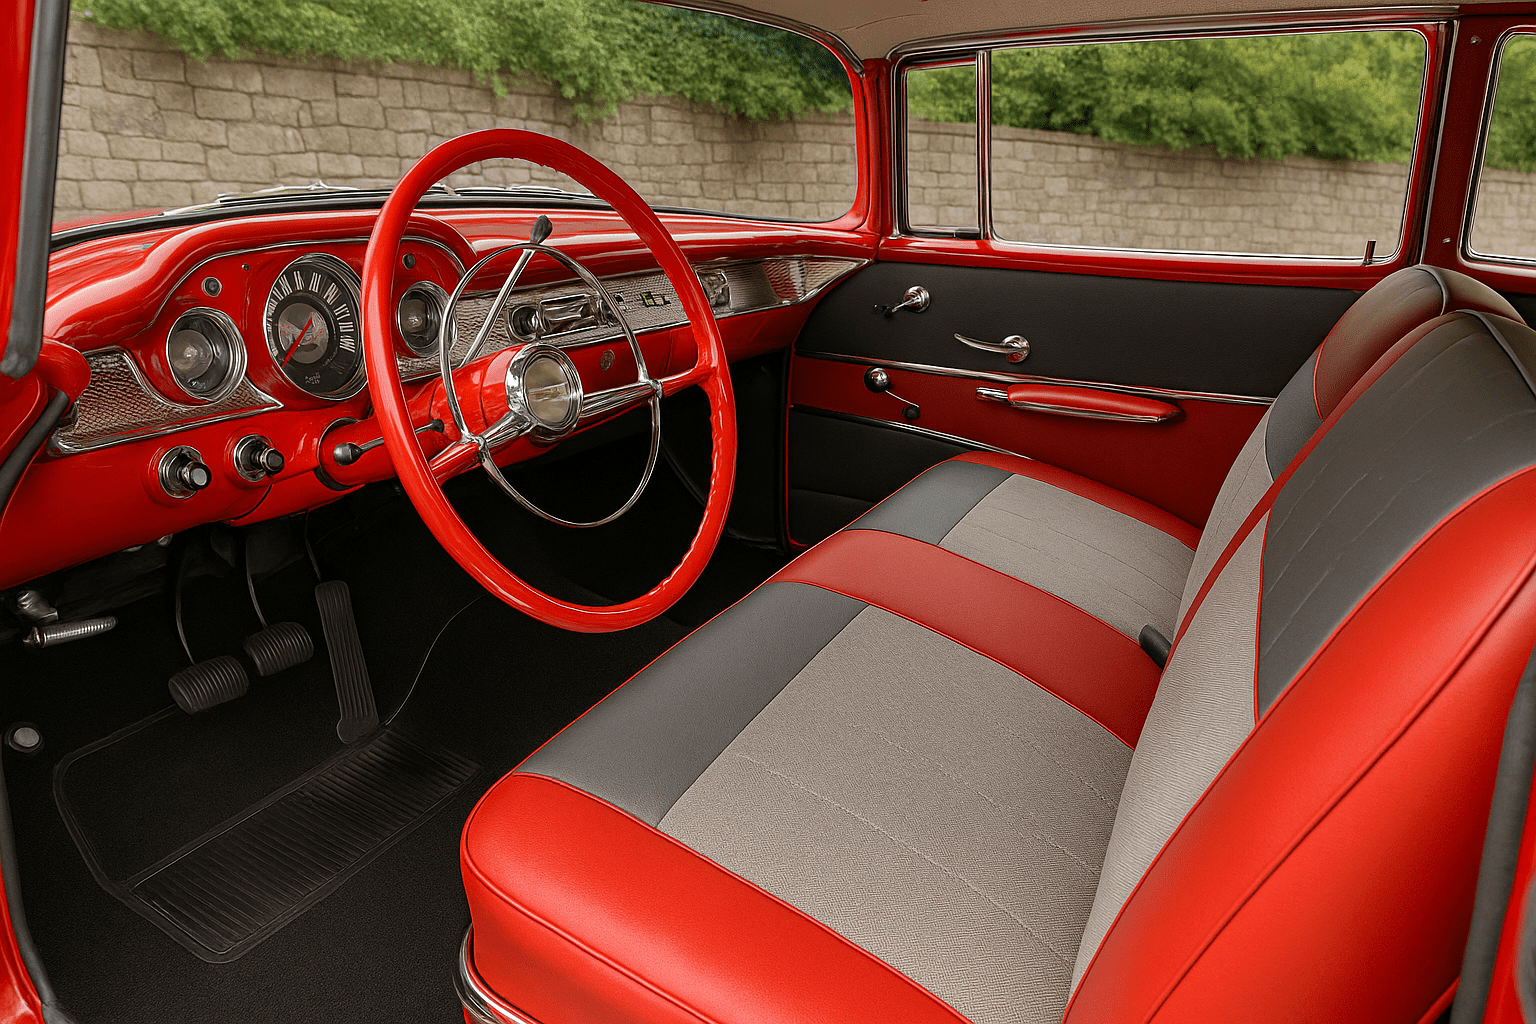
A Chevy’s interior is where you and your passengers connect with the car. Done right, it combines comfort, style, and authenticity.
Want examples of factory-correct interiors? Our Classic Chevy Buyer’s Guide shows original trim options for popular Bel Air and Impala models.
This is where the car comes alive inside:
- Repair or replace floors, insulation, and sound deadening.
- Restore seats, door panels, and headliners with OEM-style materials.
- Install new carpet and weatherstripping.
- Refinish the dashboard, gauges, and steering wheel.
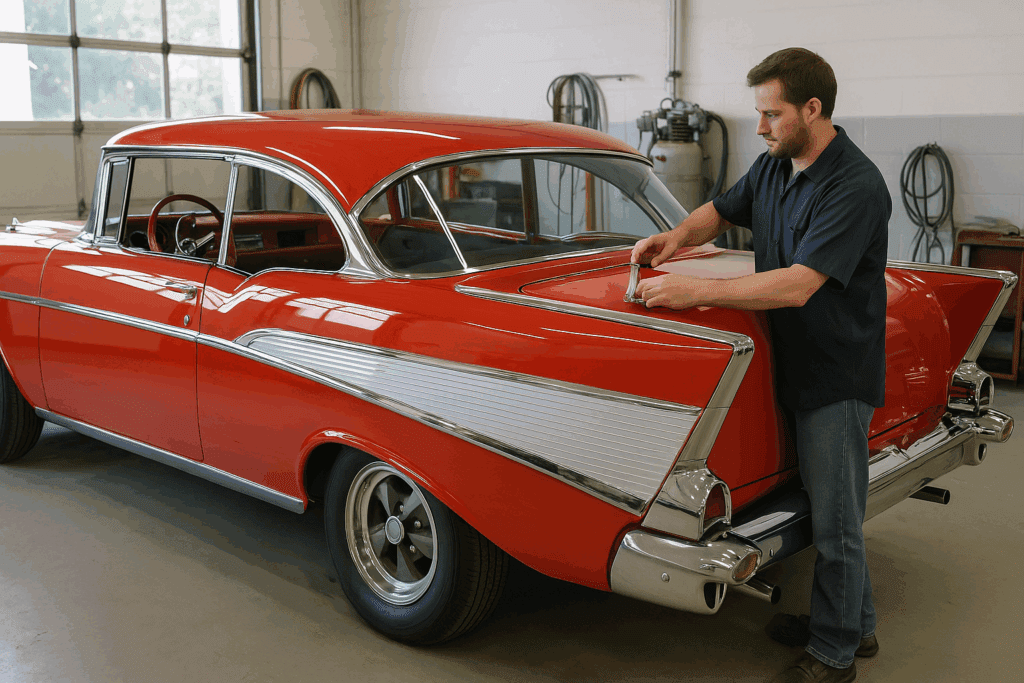
10. Reassembly & Final Adjustments
After months of work, reassembly is the most satisfying step. Seeing the car come back together reminds you why you started.
If you want a step-by-step companion to track progress, download our Classic Chevy Buyer’s Checklist —it doubles as a restoration tracker.
Bringing it all together:
- Carefully reinstall the drivetrain, suspension, and body panels.
- Align panels, glass, and trim for proper fit.
- Tune the engine, bleed the brakes, and test suspension settings.
- Take the car for slow shakedown drives, addressing issues as they appear.
11. Maintenance & Long-Term Care
Even after restoration, a Chevy requires ongoing care. Preventive maintenance and Classic Chevy Insurance preserves your investment and ensures your car runs smoothly for years.
For more on how age affects your car’s needs, compare your restoration plan with our Tri-Five Chevy Guide, which explains upkeep challenges unique to 1955–57 models.
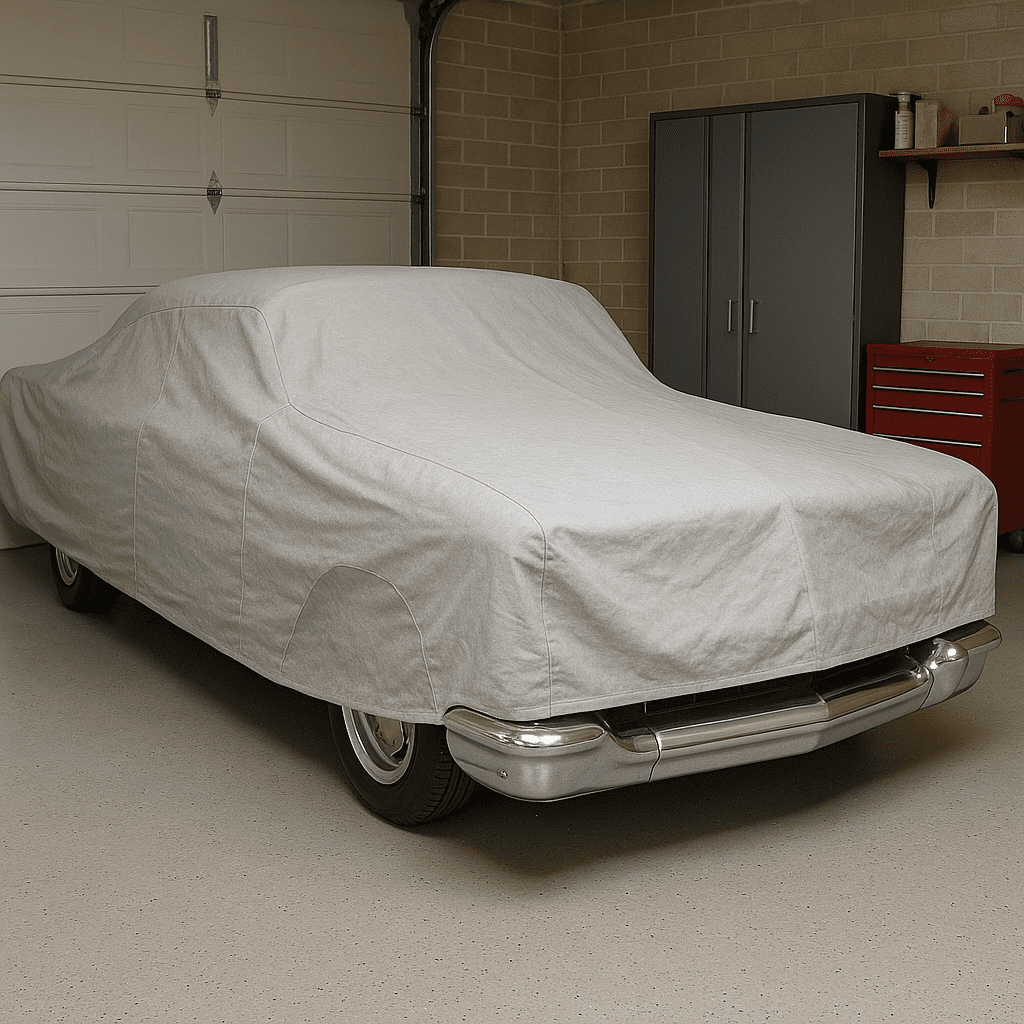
A restored Chevy deserves ongoing attention:
- Store indoors or use a quality car cover.
- Wash and wax regularly to preserve the paint.
- Change fluids on schedule—especially brake and transmission fluids.
- Drive it! Cars that sit deteriorate faster than cars that are enjoyed.
For long-term preservation, see Hagerty’s restoration care tips.
Attention to Detail
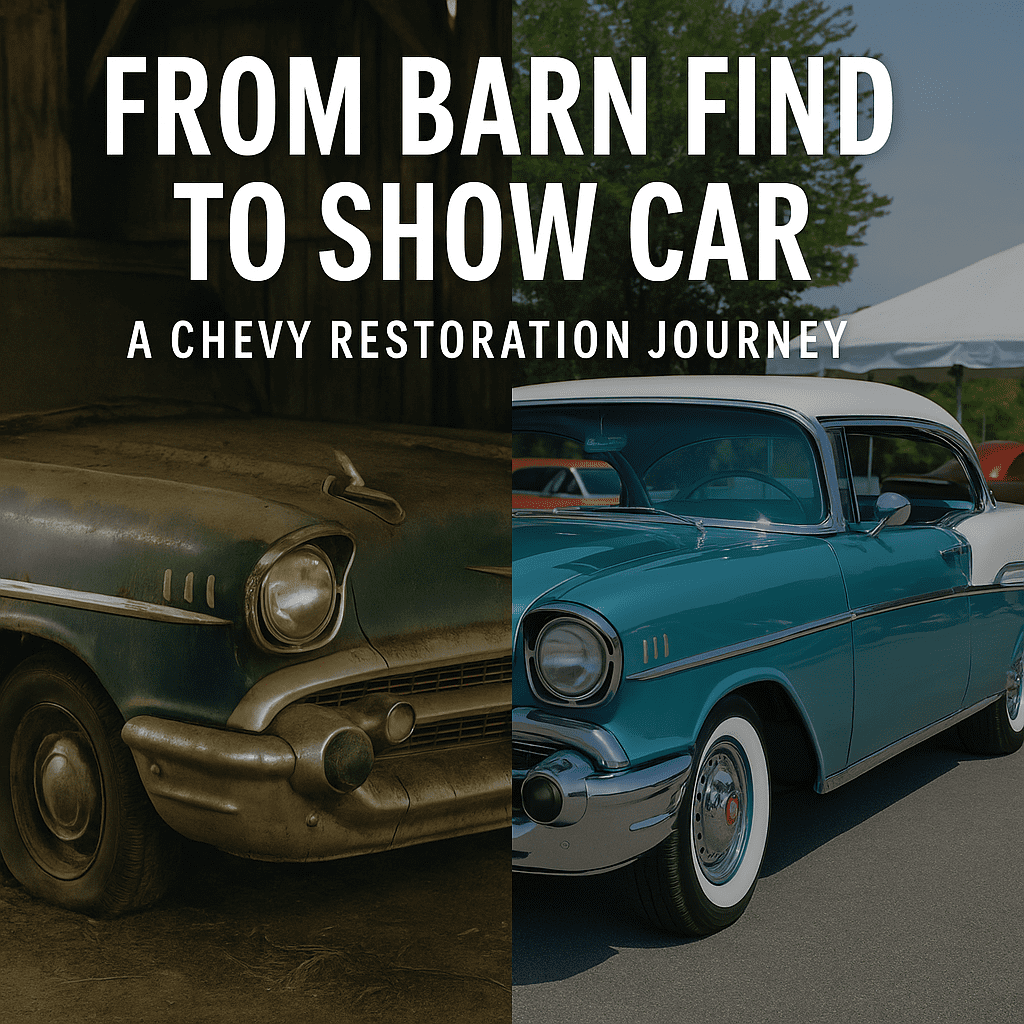
A classic Chevy restoration is more than just turning wrenches—it’s reliving a golden era of American motoring. With careful planning, attention to detail, and patience, you can transform a barn find into a show-stopping, road-worthy machine.
Whether it’s your first project or your fifth, the journey is as rewarding as the finished car.
Frequently Asked Questions About Classic Chevy Restoration
How much does it cost to restore a classic Chevy?
The cost varies widely depending on the model, condition, and your goals. A budget “driver-quality” restoration may start around $15,000–$25,000, while a full frame-off, show-quality build can exceed $75,000–$100,000. Labor, rare parts, and paint quality are the biggest factors. Our Classic Chevy Buyer’s Guide includes tips for setting realistic budgets before you buy.
How long does a full restoration take?
On average, a frame-off restoration takes 1–3 years, depending on parts availability, complexity, and whether you’re working weekends or using a professional shop. Simple refreshes may take months, while concours-level projects can stretch over a decade.
What’s the difference between a “frame-off” and “frame-on” restoration?
A frame-off restoration means the body is completely separated from the frame, allowing full access to chassis, suspension, and rust-prone areas. It’s more expensive but ensures every part is restored. A frame-on restoration keeps the body mounted and is less invasive, often used for cars with minimal rust or damage.
Which classic Chevys are the easiest to restore?
Models with strong parts support, like the 1955–1957 Tri-Five Chevys, 1960s Impalas, and 1967–1969 Camaros, are among the easiest to restore. Their popularity means reproduction panels, trim, and interior parts are widely available from suppliers like Classic Industries.
Should I restore a Chevy to stock or build a restomod?
It depends on your goals. Stock restorations preserve originality and value, appealing to collectors. Restomods add modern conveniences—like fuel injection, disc brakes, and air conditioning—making the car safer and more enjoyable to drive. Both have strong followings in the Chevy community.
Do restored classic Chevys hold their value?
Yes, especially if restored to factory specifications with attention to detail. Cars like the 1957 Chevy Bel Air or 1969 Camaro Z/28 consistently command strong prices at auctions. Restomods can also be valuable but appeal to a slightly different buyer base.
Can I do a Chevy restoration myself, or do I need a shop?
Many enthusiasts tackle restorations at home, especially disassembly, cleaning, and some mechanical work. However, tasks like bodywork, paint, and engine machining often require professional help. A hybrid approach—DIY where possible, shop help where necessary—is common.
What tools do I need for a Chevy restoration?
At minimum, you’ll need a decent tool set, engine hoist, jack stands, torque wrench, air compressor, and welding equipment. For a frame-off restoration, consider a rotisserie to rotate the body safely during rust and paint work.
How do I prevent rust after restoring my Chevy?
Use epoxy primer, seam sealer, rust inhibitors, and undercoating during the build. Store the car in a dry, climate-controlled space and wash regularly. Long-term care guides like Hagerty’s maintenance tips can help keep rust at bay.
Where can I learn more about classic Chevy restoration?
For deeper dives, check out our Tri-Five Chevy Guide: 1955–1957 Models Explained and Classic Chevy Buyer’s Guide. Communities like ChevyTalk.org are also invaluable for real-world advice and troubleshooting.