Classic Chevy overheating at idle almost always comes down to inadequate airflow, reduced coolant circulation, or incorrect engine setup when the car isn’t moving. Common causes include weak mechanical fans, missing shrouds, clogged radiators, lean idle mixtures, or incorrect ignition timing. Ignoring idle overheating risks long-term engine damage.
Why This Problem Happens — and Why It Matters
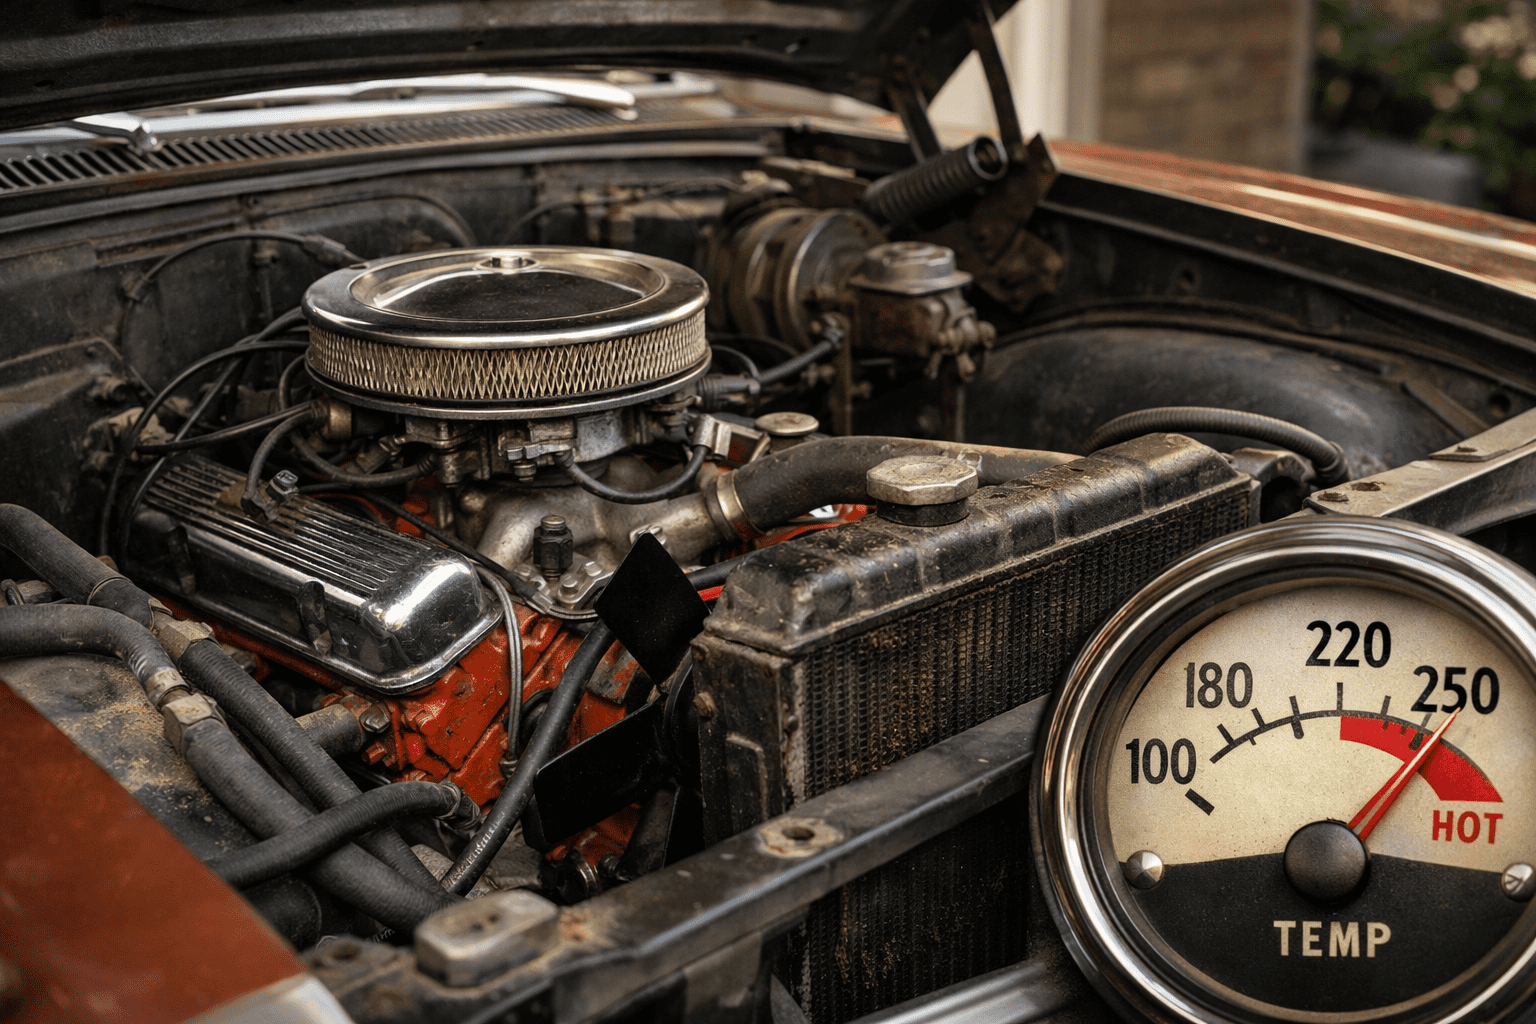
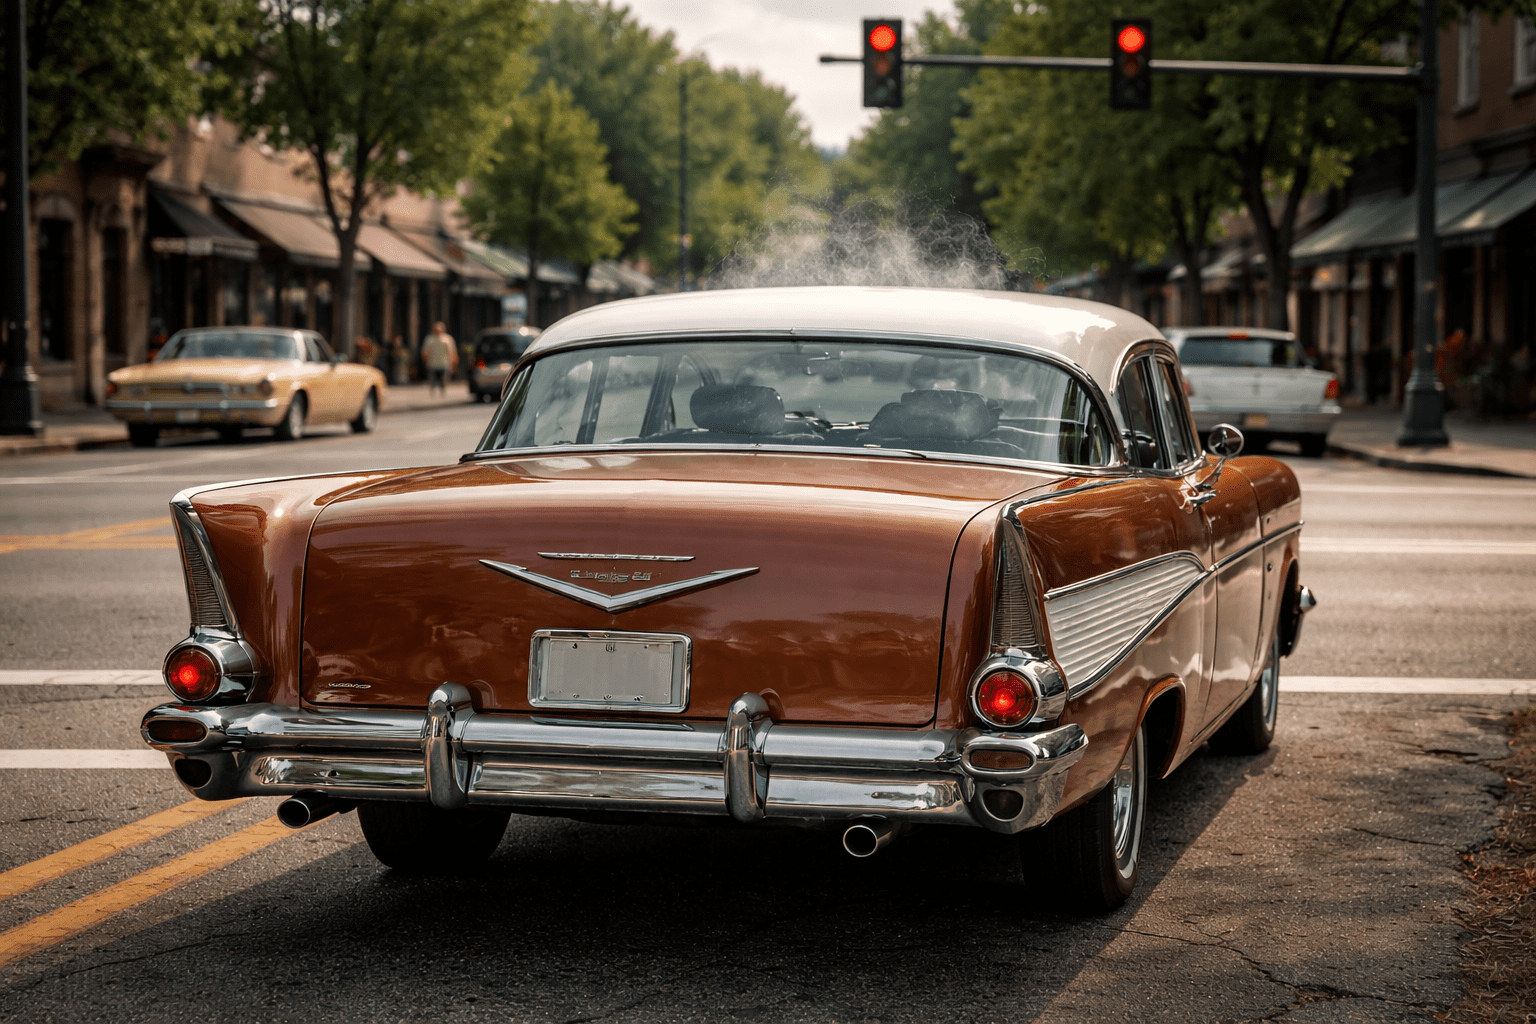
Idle overheating is one of the most common real-world issues with classic Chevrolets, especially 1955–1972 small-block cars. On the highway, airflow through the grille can hide cooling problems. At idle—stoplights, parades, cruise nights—the cooling system has to do all the work on its own.
Unlike modern cars with high-output electric fans and computer-controlled timing, classic Chevys rely on basic mechanical airflow, proper pulley ratios, and correct ignition setup. When any part of that system is marginal, the temperature climbs quickly once the car stops moving.
This matters because repeated overheating at idle doesn’t just make the gauge uncomfortable to watch. Over time, excess heat can warp heads, cook valve seals, boil fuel, strain starters, and quietly shorten engine life—even if the car “runs fine” otherwise.
Common Causes of Classic Chevy Overheating at Idle
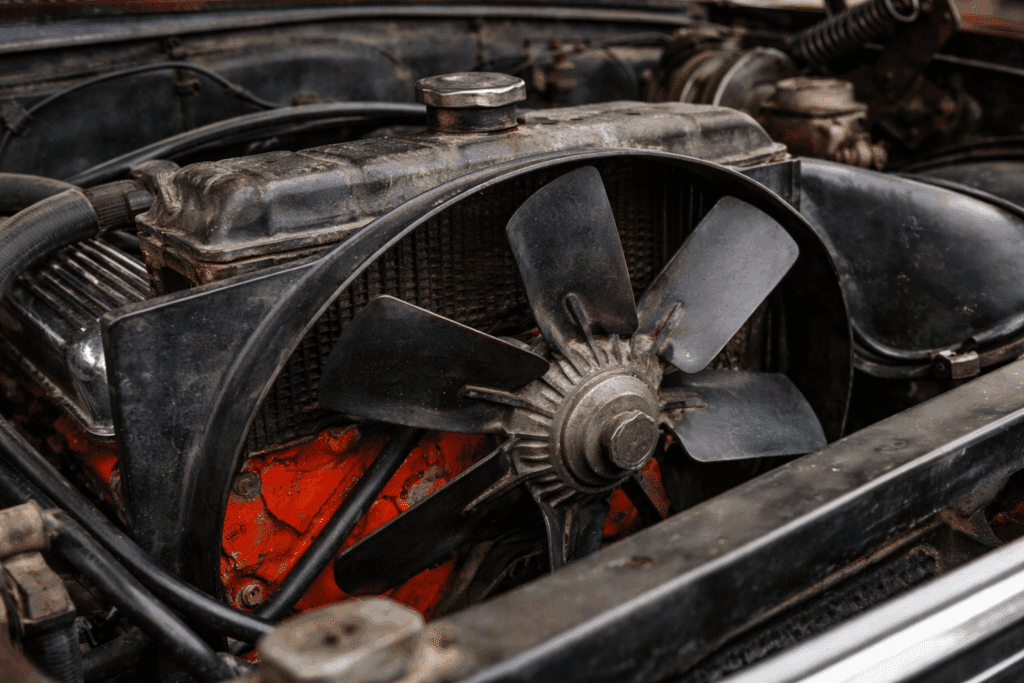
Weak or Incorrect Mechanical Fan
Symptoms
- Temperature rises only when stopped
- Cools down once moving
- No improvement after radiator replacement
Why it happens
Many classics are running the wrong fan—too small, too few blades, or a worn clutch fan that freewheels at idle. At low RPM, airflow matters more than anything else.
Risk if ignored
Chronic idle overheating and heat damage to hoses, wiring, and fuel system components.
Explore electric fan vs mechanical fan for classic cars.
Missing or Incorrect Fan Shroud
Symptoms
- Fan spinning, but poor cooling
- The radiator is hot in spots
- Overheats faster in warm weather
Why it happens
Without a shroud, the fan pulls air from around the radiator instead of through it. GM engineered shrouds to work with specific fan depths, and removing them severely reduces airflow efficiency.
Risk if ignored
You can replace every other cooling component and still overheat at idle.
Clogged or Undersized Radiator
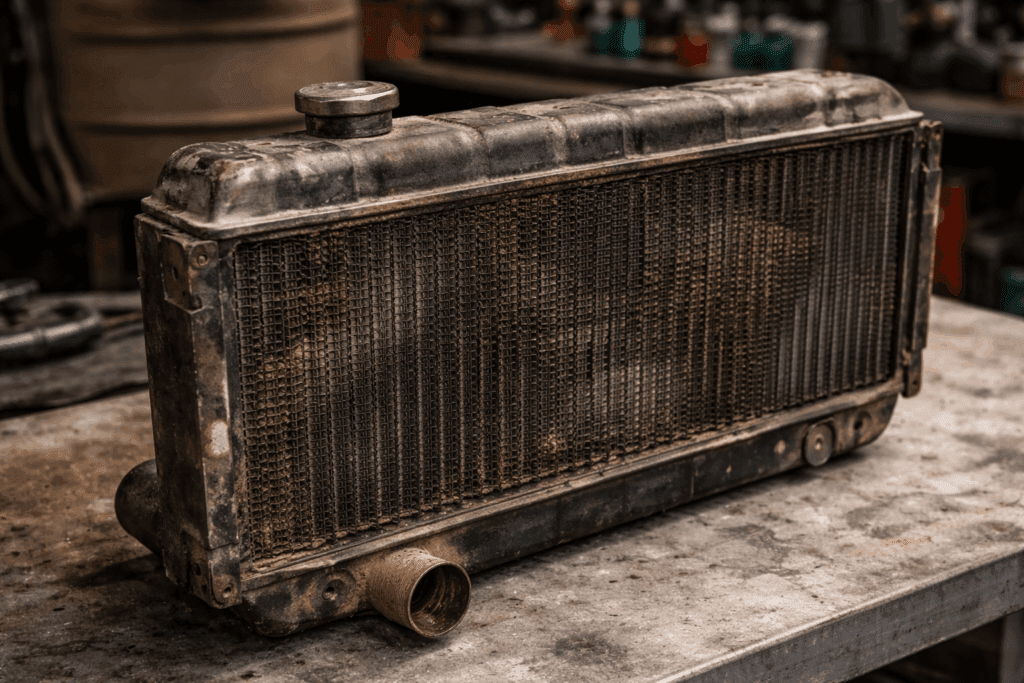
Symptoms
- Runs hot everywhere, worse at idle
- Rusty or dark coolant
- Cold spots across the radiator core
Why it happens
Internal corrosion and mineral buildup reduce flow and heat transfer. Many original or decades-old re-cores simply can’t dissipate heat effectively anymore.
Risk if ignored
Localized hot spots in the heads and block, increasing the risk of head gasket failure.
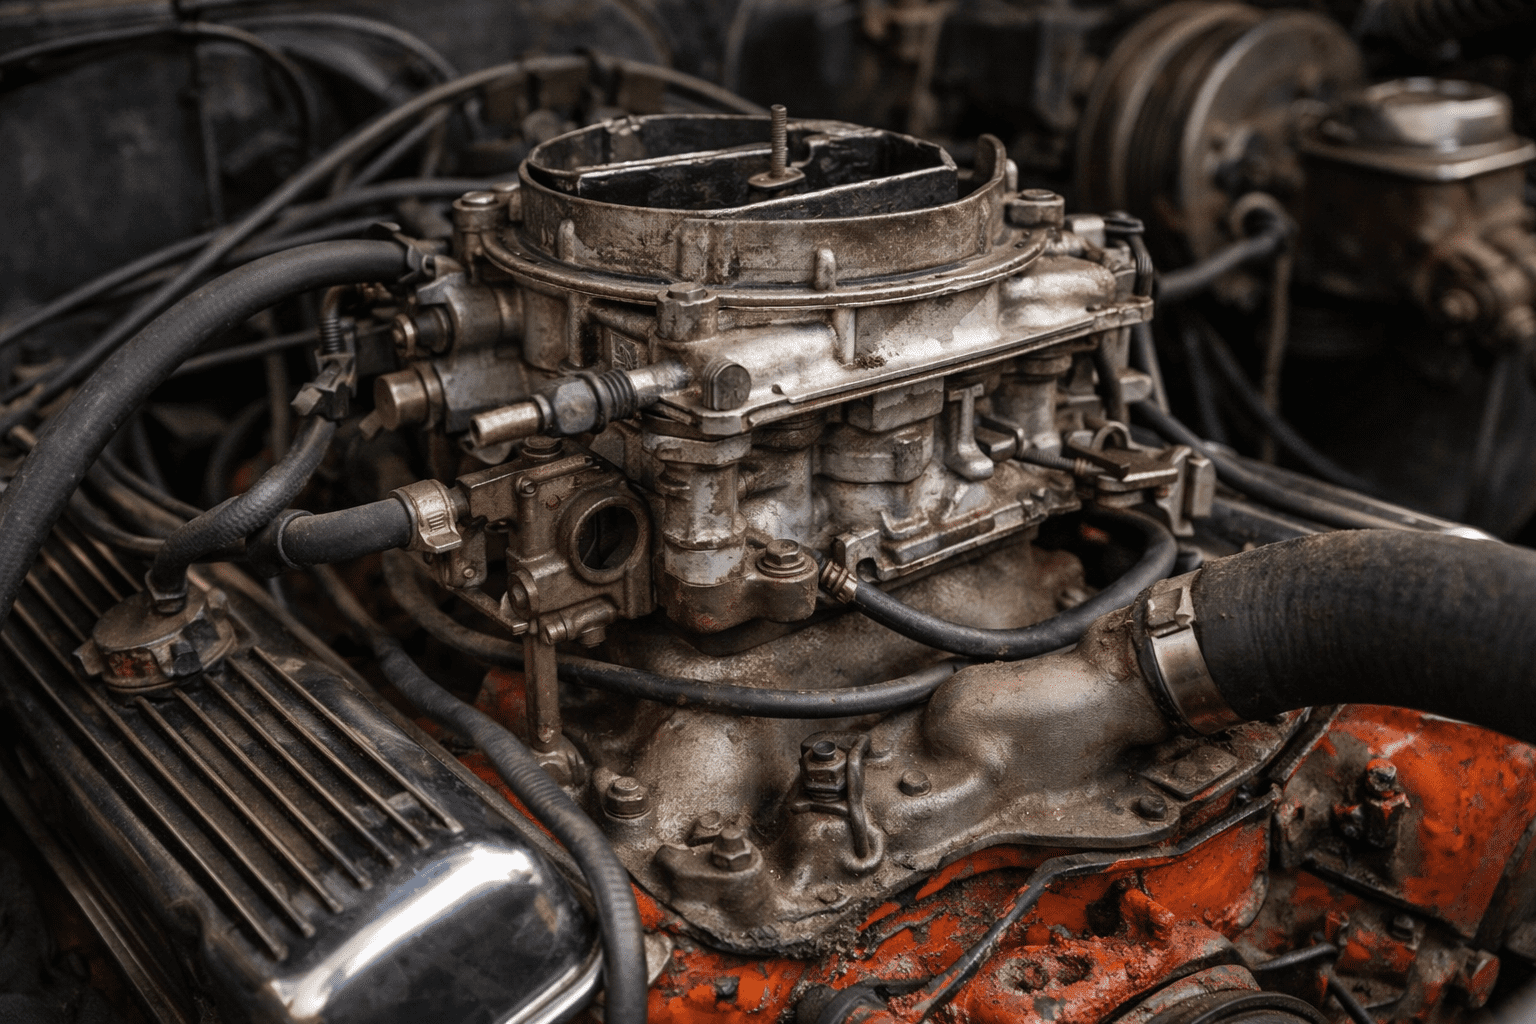
Lean Idle Mixture or Vacuum Leaks
Symptoms
- Rough or unstable idle
- Surging RPM
- Higher idle temperatures despite good cooling parts
Why it happens
A lean mixture burns hotter. Vacuum leaks—common on aging hoses, carb bases, and brake boosters—lean out the idle circuit and raise combustion temperature.
Risk if ignored
Burned valves, detonation, and persistent overheating that airflow alone won’t fix.
If your classic Chevy only stalls or runs poorly after heat soak or slow traffic driving, vapor lock may be the real issue, not just engine temperature—here’s how to diagnose and fix vapor lock in classic Chevys.
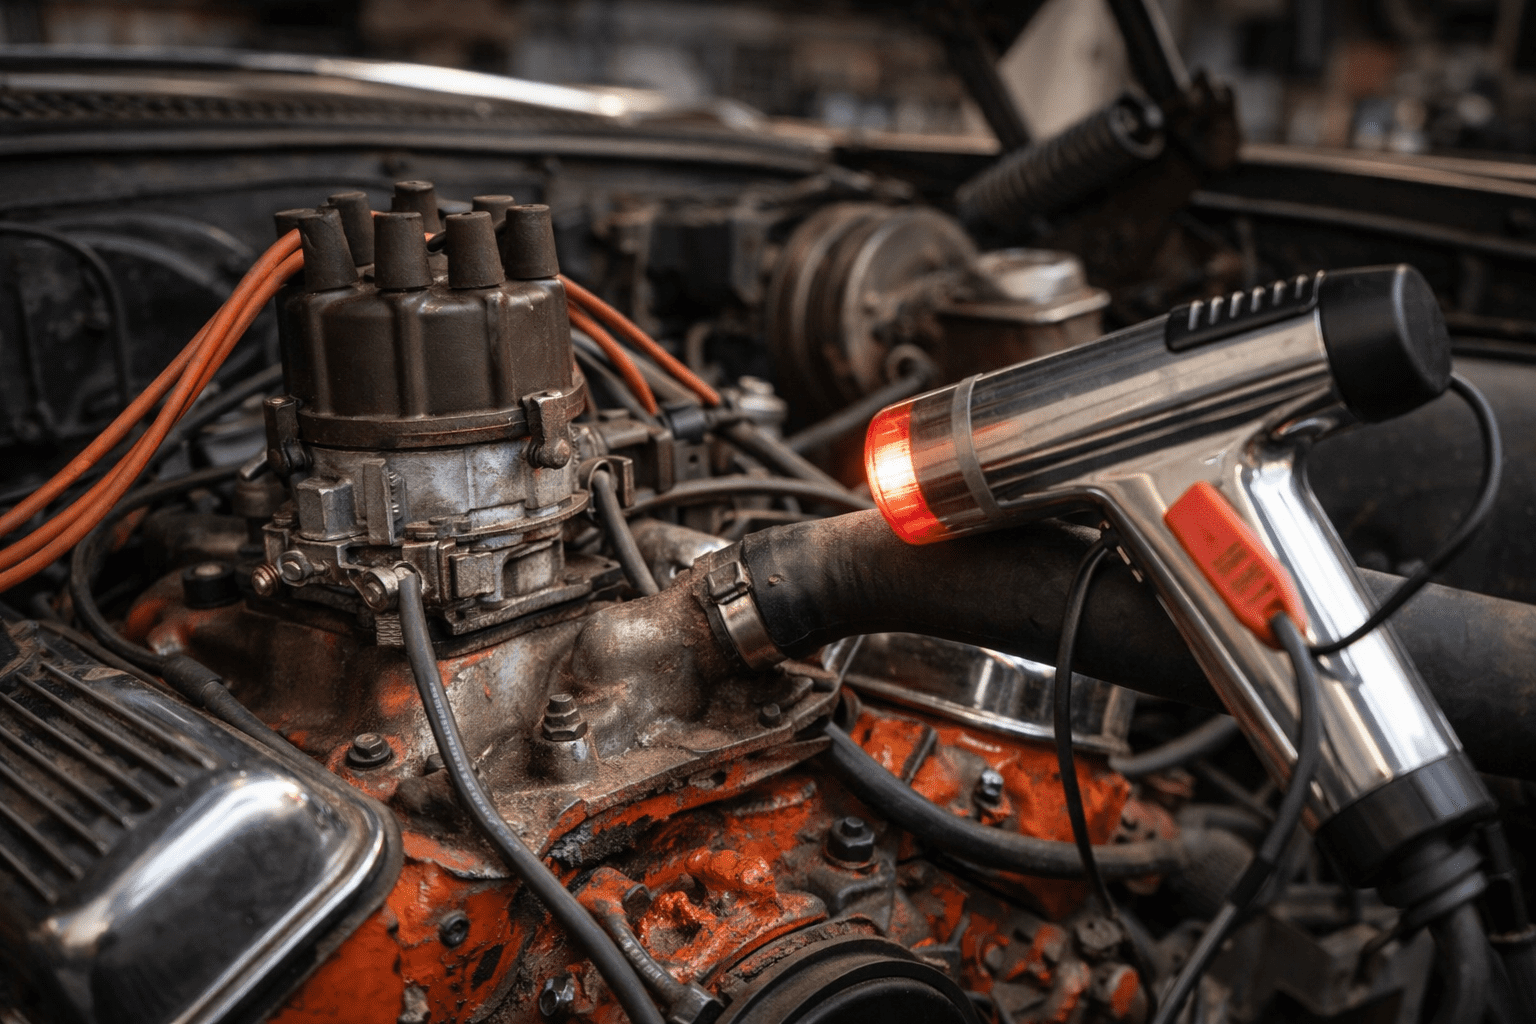
Incorrect Ignition Timing
Symptoms
- Hard hot starts
- Sluggish throttle response
- Overheats more at idle than at cruise
Why it happens
Retarded timing forces excess heat into the exhaust and cooling system. Many classic Chevys still run factory timing specs that don’t work well with modern fuel.
Risk if ignored
Reduced efficiency, increased heat, and unnecessary strain on the cooling system.
Water Pump or Pulley Ratio Issues

Symptoms
- Adequate cooling at speed
- Poor coolant circulation at idle
- Weak coolant movement in the radiator
Why it happens
Corroded impellers, incorrect pump rotation, or mismatched pulley ratios can reduce coolant flow—most noticeable at idle RPM.
Risk if ignored
Uneven cooling and recurring hot spots.
How to Fix or Evaluate Each Cause
Mechanical Fan and Shroud
Steps
- Confirm the fan diameter covers roughly 70% of the radiator core
- Inspect clutch fan resistance when warm
- Install a factory-style shroud with proper fan depth
Cost: $0–$200
Difficulty: Easy
Owner note: Many “mystery” overheating problems are solved right here.
Radiator Condition
Steps
- Check for cold spots using an infrared thermometer
- Flush the system and inspect debris
- Pressure-test and flow-test the radiator
Cost
- Flush: $40–$80
- Replacement: $300–$900
Difficulty: Moderate
For deeper guidance, see:
[Internal Link: Best Radiators for Classic Chevys]
Carburetor and Vacuum Leaks
Steps
- Inspect all vacuum hoses and caps
- Spray carb cleaner around the intake and carb base
- Adjust the idle mixture for the highest steady vacuum
Cost: $0–$50
Difficulty: Easy
Warning: Richening the carb to hide a vacuum leak creates new problems.
While cooling system problems are the most common cause of overheating at idle, improper carburetor sizing or an overly rich mixture can increase combustion heat. Reviewing carburetor setup on a small-block Chevy engine is worthwhile if the cooling components are checked out.
Ignition Timing
Steps
- Verify true TDC
- Set initial timing appropriately (often 10–14° BTDC on small blocks)
- Confirm the mechanical and vacuum advance functions are working correctly
Cost: $0–$150
Difficulty: Moderate
Many small-block Chevys run noticeably cooler at idle with correct timing.
Always verify timing and cooling components against your specific engine setup.
Water Pump and Pulley Setup
Steps
- Confirm correct pump rotation
- Inspect the impeller condition
- Verify pulley ratios favor pump speed at idle
Cost: $100–$300
Difficulty: Moderate
Parts, Tools, or Upgrades Worth Considering
| Component | Factory-Style Option | Upgrade Option | Best For |
|---|---|---|---|
| Fan | 4-blade steel | 7-blade clutch | Stock restorations |
| Radiator | Copper/brass | Aluminum 2–3 row | Heavy traffic |
| Thermostat | 180° | High-flow 180° | Stable temps |
| Fan Type | Mechanical | Electric | Modified builds |
Electric fans can help, but they are not a cure-all. Airflow path and system balance matter more than fan type alone.
Mistakes Owners Commonly Make
- Replacing parts without diagnosing airflow
- Running 160° thermostats expecting cooler operation
- Ignoring ignition timing while chasing cooling upgrades
- Removing factory fan shrouds for appearance
- Assuming highway temperatures mean the system is healthy
These mistakes cost time, money, and confidence in the car. Specifications and procedures may vary by year and engine configuration.
When to Seek Professional Help
Get professional help if:
- Temperatures repeatedly exceed 230°F
- Coolant disappears without visible leaks
- Oil shows signs of contamination
- Detonation occurs under a light load
At that point, the issue may go beyond idle cooling and into engine condition.
Related Buyer and Ownership Advice
Idle overheating often reveals how well a classic Chevy was maintained or restored. If you’re evaluating a purchase, always let the car idle fully warm before making a decision.
Related resources:
- How to Restore a Chevy Small Block V8
- Chevy Small Block Casting Numbers Lookup (SBC Block ID Guide)
- Decode a Chevy VIN (Chevy VIN Decoder Guide)
- Why My Classic Chevy Won’t Start
- Gas Smell in a Classic Chevy
FAQs: Classic Chevy Overheating at Idle
Can a classic Chevy overheat at idle but not on the highway?
Yes. Highway airflow can hide cooling problems that only show up when airflow depends entirely on the fan.
Will an electric fan fix idle overheating?
ot always. If airflow paths, radiator condition, or timing are wrong, the electric fans won’t compensate.
What idle temperature is acceptable?
Most healthy small-block Chevys idle safely between 185–210°F, depending on ambient conditions.
Are automatics more prone to idle overheating?
Often yes, due to additional heat load and tighter engine bay airflow.
Diagnose Methodically
Classic Chevy overheating at idle is rarely mysterious and almost never random. It’s the result of airflow, coolant flow, and engine setup working—or not working—together. Diagnose methodically, respect factory design where it matters, and you’ll end up with a Chevy that idles confidently anywhere, not just on the open road.
About the Author
Gary Thompson is a long-time classic Chevrolet owner and restorer with hands-on experience working on small-block Chevys from the 1950s through the early 1970s. Over the years, he has diagnosed and repaired common real-world issues such as idle overheating, carburetor tuning problems, cooling system failures, and ignition timing errors on both stock and mildly modified cars.
Gary’s work focuses on practical ownership knowledge—what actually fails, what actually fixes it, and how classic Chevys behave in traffic, at cruise nights, and during real driving conditions. Content on OldChevys.com is written from direct experience maintaining and evaluating vintage Chevrolets, not from parts catalogs or theory alone.
How This Article Was Prepared
This guide is based on hands-on inspection and maintenance experience with classic Chevrolet cooling systems, including mechanical fans, factory shrouds, copper/brass and aluminum radiators, carbureted fuel systems, and small-block ignition setups. Diagnostic approaches reflect real-world troubleshooting used by long-term owners and restorers rather than generic repair manuals.
Editorial Standards
OldChevys.com publishes owner-focused technical guides and buyer resources for classic Chevrolet vehicles. Articles are written to reflect real ownership conditions and common issues encountered in vintage Chevys. Recommendations are based on hands-on experience, known failure patterns, and long-term reliability—not sponsorships or promotional considerations.